
Setup the Nextcloud Ubuntu Appliance
in a virtual machine
Installation instructions
What you'll need
- A PC running Ubuntu 18.04 LTS or later
How to install
We will walk you through the steps of setting up your Nextcloud Ubuntu Appliance in a vm with Multipass and get logged in.
-
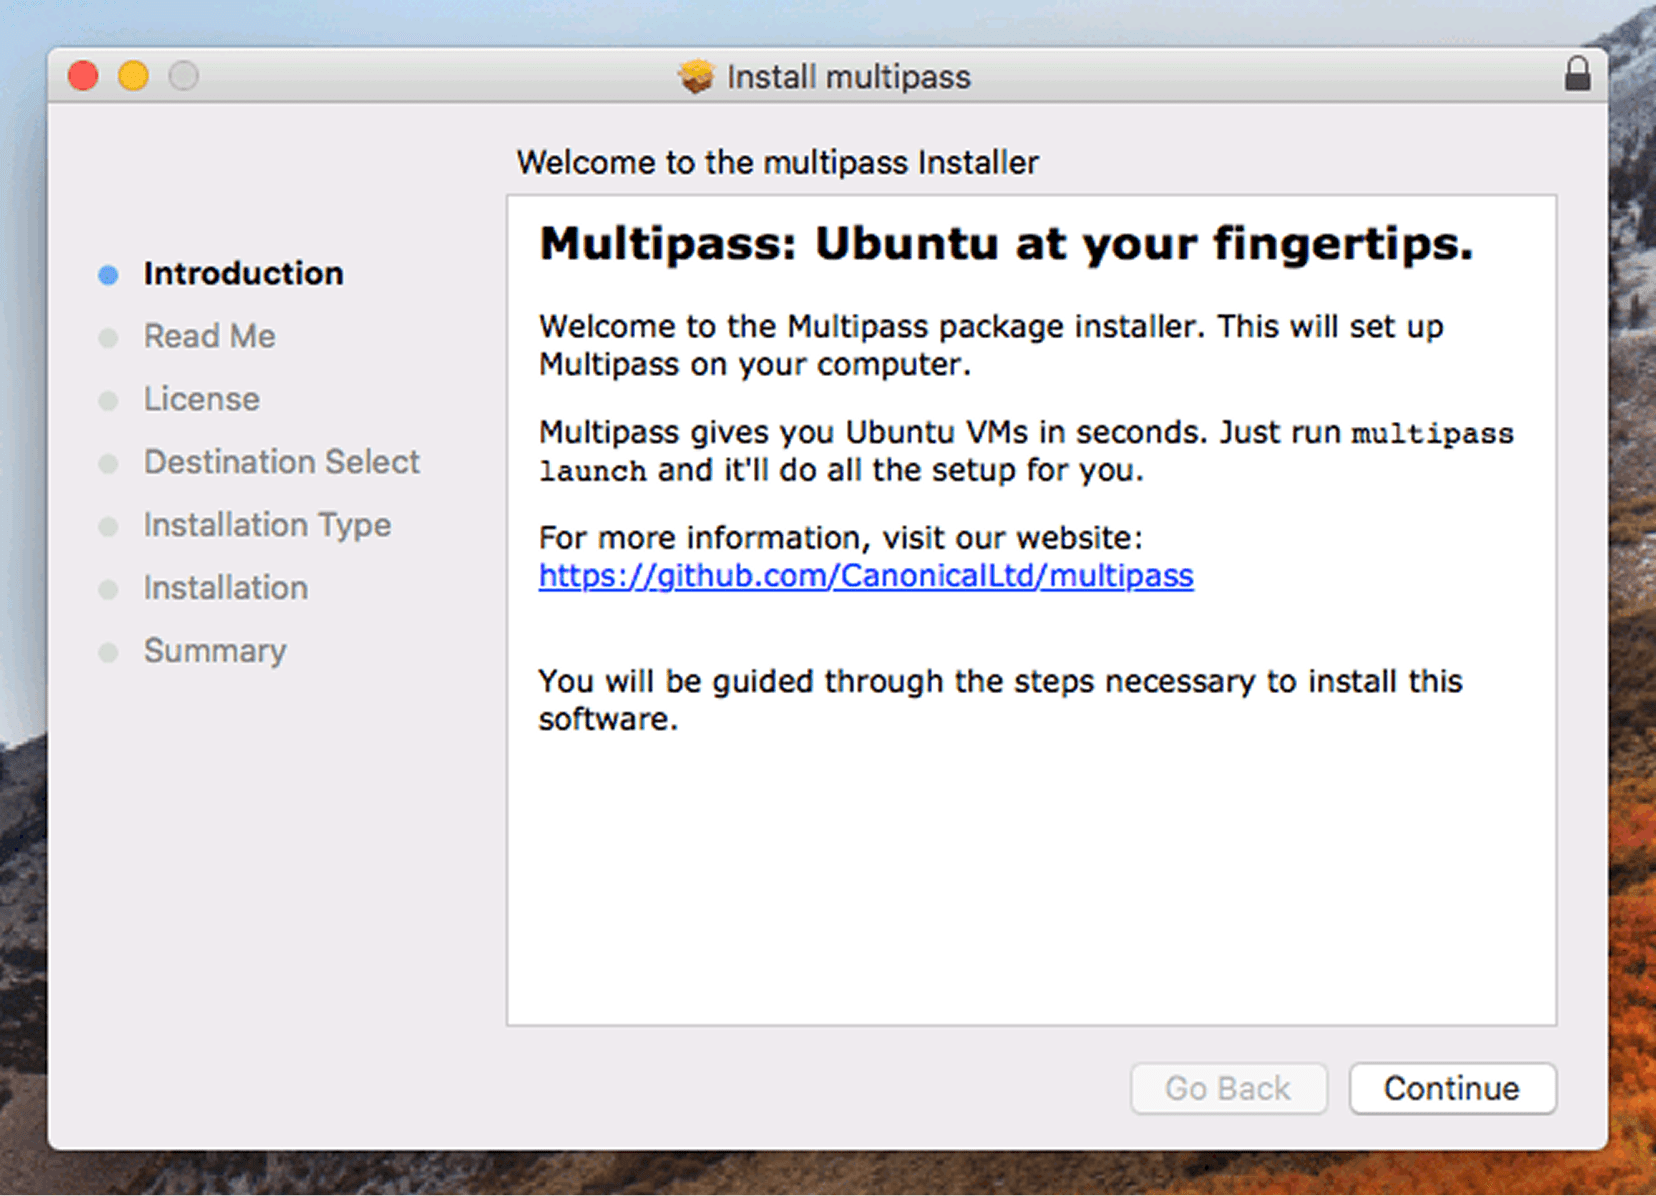
Install Multipass
sudo snap install multipass -
Launch your Ubuntu Appliance
Launch your appliance image. Multipass gives your appliance an instance name like
happy-frog. To name it yourself add--name <name>.multipass launch appliance:nextcloud -
Find your appliance
Find your appliance VM's IP address:
multipass list -
That's it
Your appliance is now running in a virtual machine. Start and stop it with
multipass start <name>andmultipass stop <name>. To access the command-line:multipass shell nextcloud
What you'll need
- A PC running Windows 10 Pro/Enterprise/Education Update 1803 or later, or any version of Windows with VirtualBox.
How to install
We will walk you through the steps of setting up your Nextcloud Ubuntu Appliance in a vm with Multipass and get logged in.
-
Install Multipass
-
Make sure the network you're connected to is marked Private, otherwise Windows will prevent Multipass from starting.
-
Run the installer. You will need to allow the installer to gain Administrator privileges.
-
-
Launch your Ubuntu Appliance
Launch your appliance image. Multipass gives your appliance an instance name like
happy-frog. To name it yourself add--name <name>.multipass launch appliance:nextcloud -
Find and connect to your appliance
Hyper-V instructions
On Hyper-V, find your virtual appliance IP address:
multipass listVirtualBox instructions
On VirtualBox, forward the appliance port to the outside world with this command in an Administrator PowerShell:
env:USERPROFILE\Downloads\PSTools\PsExec.exe -s
$env:VBOX_MSI_INSTALL_PATH\VBoxManage.exe controlvm "<instance
name>" --natpf1 "nextcloud,tcp,,80,,80"
For more information about this command see the Multipass documentation.
-
That's it
Your appliance is now running in a virtual machine. Start and stop it with
multipass start <name>andmultipass stop <name>. To access the command-line:multipass shell nextcloud
What you'll need
- A Mac running macOS and VirtualBox. To use Multipass on macOS this is required.
How to install
We will walk you through the steps of setting up your Nextcloud Ubuntu Appliance in a vm with Multipass and get logged in.
-
Install Multipass
-
Activate the downloaded installer in an account with Administrator privileges.
-
To start Multipass with VirtualBox use this Terminal app command:
sudo multipass set local.driver=virtualbox
-
Launch your Ubuntu Appliance
Launch your appliance image. Multipass gives your appliance an instance name like
happy-frog. To name it yourself add--name <name>.multipass launch appliance:nextcloud -
Find your appliance
To use VirtualBox's port forwarding run:
sudo VBoxManage controlvm "<instance name>" --natpf1
"nextcloud,tcp,,80,,80"
You can find more information about what this command means in the Multipass documentation.
-
That's it
Your appliance is now running in a virtual machine. Start and stop it with
multipass start <name>andmultipass stop <name>. To access the command-line:multipass shell nextcloud
Start using your Nextcloud
Ubuntu Appliance
When you start Nextcloud for the first time you make an account and go through some initial configuration. To do so, open a browser and go to:
- On Raspberry Pis and PCs: http://nextcloud.local
-
On a Virtual machine:
http://<IP-of-your-appliance>
After that, you can start using your new Nextcloud server. For more information and documentation visit the Nextcloud website.