
%27%20fill%3D%27%23E95420%27%3E%3Cpath%20d%3D%27m15.839%205.293-1.447-2.8a.136.136%200%200%200-.051-.055.144.144%200%200%200-.074-.02h-5.8a.143.143%200%200%200-.091.03.13.13%200%200%200-.034.17.138.138%200%200%200%20.072.06l7.251%202.8a.144.144%200%200%200%20.17-.054.13.13%200%200%200%20.007-.13l-.003-.001ZM11.839%204.945.073.223A.073.073%200%200%200%20.026.221a.07.07%200%200%200-.038.027.065.065%200%200%200%20.007.086l7.962%208.182a.069.069%200%200%200%20.049.022.072.072%200%200%200%20.047-.019l3.805-3.461a.066.066%200%200%200%20.02-.061.065.065%200%200%200-.014-.03.07.07%200%200%200-.028-.02l.003-.002ZM5.382%207.183a.071.071%200%200%200-.062-.022.07.07%200%200%200-.03.011.067.067%200%200%200-.023.025l-4.13%207.696a.065.065%200%200%200-.005.046.068.068%200%200%200%20.027.038.072.072%200%200%200%20.09-.006L7.13%209.18a.066.066%200%200%200%200-.087l-1.75-1.91Z%27%2F%3E%3C%2Fg%3E%3Cdefs%3E%3CclipPath%20id%3D%27a%27%3E%3Cpath%20fill%3D%27%23fff%27%20d%3D%27M0%200h15.83v15.21H0z%27%2F%3E%3C%2FclipPath%3E%3C%2Fdefs%3E%3C%2Fsvg%3E)

%27%20fill%3D%27%23E95420%27%3E%3Cpath%20d%3D%27M1.936%202.592c.668%200%201.21-.515%201.21-1.151S2.604.29%201.936.29C1.267.29.726.805.726%201.44c0%20.637.541%201.152%201.21%201.152ZM14.56.576H3.404a1.587%201.587%200%200%201%20.024%201.69l-.026.04h11.156a.56.56%200%200%200%20.386-.15.518.518%200%200%200%20.16-.369v-.692a.502.502%200%200%200-.16-.369.543.543%200%200%200-.386-.15ZM1.936%206.701c.668%200%201.21-.515%201.21-1.15%200-.637-.542-1.152-1.21-1.152-.669%200-1.21.515-1.21%201.151s.541%201.151%201.21%201.151ZM14.56%204.685H3.404a1.612%201.612%200%200%201%20.242%201.083c-.03.215-.105.421-.219.608l-.026.04h11.157a.56.56%200%200%200%20.386-.15.518.518%200%200%200%20.16-.37v-.692a.5.5%200%200%200-.16-.369.542.542%200%200%200-.386-.15ZM1.936%2010.81c.668%200%201.21-.515%201.21-1.15%200-.637-.542-1.152-1.21-1.152-.669%200-1.21.515-1.21%201.151s.541%201.151%201.21%201.151ZM14.56%208.795H3.404a1.611%201.611%200%200%201%20.243%201.082%201.581%201.581%200%200%201-.245.648h11.156a.559.559%200%200%200%20.386-.15.517.517%200%200%200%20.16-.37v-.692a.502.502%200%200%200-.16-.368.543.543%200%200%200-.386-.15ZM1.936%2014.92c.668%200%201.21-.515%201.21-1.15%200-.637-.542-1.152-1.21-1.152-.669%200-1.21.515-1.21%201.151s.541%201.151%201.21%201.151ZM14.56%2012.904H3.404a1.611%201.611%200%200%201%20.242%201.082%201.58%201.58%200%200%201-.219.608l-.026.04h11.157a.562.562%200%200%200%20.386-.15.517.517%200%200%200%20.16-.37v-.692a.5.5%200%200%200-.16-.369.543.543%200%200%200-.386-.15Z%27%2F%3E%3C%2Fg%3E%3Cdefs%3E%3CclipPath%20id%3D%27a%27%3E%3Cpath%20fill%3D%27%23fff%27%20d%3D%27M0%200h15.83v15.21H0z%27%2F%3E%3C%2FclipPath%3E%3C%2Fdefs%3E%3C%2Fsvg%3E)
%27%20fill%3D%27%23E95420%27%3E%3Cpath%20d%3D%27M9.618.272c-.634%200-1.243.243-1.691.674-.448.43-.7%201.015-.701%201.624v4.221a1.9%201.9%200%200%201%201.362%200v-4.22a.955.955%200%200%201%20.291-.72%201.067%201.067%200%200%201%201.479%200%20.955.955%200%200%201%20.29.719v.962h1.363V2.57c0-.61-.253-1.194-.702-1.625A2.445%202.445%200%200%200%209.618.272ZM9.017%208.433c0%20.21-.065.417-.187.593a1.102%201.102%200%200%201-.499.393c-.203.08-.426.102-.642.06a1.125%201.125%200%200%201-.568-.292%201.055%201.055%200%200%201-.304-.547%201.028%201.028%200%200%201%20.064-.616c.084-.195.226-.362.41-.479a1.143%201.143%200%200%201%201.401.133c.103.1.185.217.24.347.057.129.085.268.085.408ZM2.773%205.855c-.634.001-1.242.244-1.69.674C.633%206.96.381%207.545.38%208.154v4.082a1.901%201.901%200%200%201%201.363%200V8.154a.955.955%200%200%201%20.29-.719%201.067%201.067%200%200%201%201.479%200%20.955.955%200%200%201%20.29.719v.962h1.363v-.962c0-.61-.253-1.194-.702-1.625a2.444%202.444%200%200%200-1.69-.674ZM2.166%2013.878c0%20.21-.065.415-.186.59-.121.174-.294.31-.496.39-.202.08-.424.102-.638.06a1.119%201.119%200%200%201-.565-.29%201.049%201.049%200%200%201-.302-.543c-.043-.206-.02-.42.063-.614.084-.194.225-.36.407-.476a1.136%201.136%200%200%201%201.394.133%201.024%201.024%200%200%201%20.323.75Z%27%2F%3E%3Cpath%20d%3D%27M14.752%204.76a1.789%201.789%200%200%201-.681-.126v2.411a.972.972%200%200%201-.312.682c-.193.179-.45.28-.718.28-.268%200-.526-.101-.718-.28a.972.972%200%200%201-.312-.682V4.32h-1.363v2.726c0%20.61.252%201.195.7%201.626a2.443%202.443%200%200%200%201.692.673c.635%200%201.244-.242%201.692-.673.449-.431.7-1.016.7-1.626v-2.41a1.9%201.9%200%200%201-.68.125ZM15.858%202.822c.037.225%200%20.455-.107.658a1.1%201.1%200%200%201-.49.472%201.161%201.161%200%200%201-1.302-.198%201.04%201.04%200%200%201-.206-1.251%201.1%201.1%200%200%201%20.492-.47%201.161%201.161%200%200%201%201.299.199c.166.16.276.366.314.59ZM7.907%2010.2c-.233%200-.465-.042-.681-.126V12.6a.97.97%200%200%201-.302.7%201.05%201.05%200%200%201-.728.29%201.05%201.05%200%200%201-.728-.29.97.97%200%200%201-.302-.7V9.845H3.804V12.6c0%20.61.252%201.194.7%201.625a2.443%202.443%200%200%200%201.692.674c.634%200%201.243-.243%201.692-.674.448-.43.7-1.015.7-1.625v-2.526a1.887%201.887%200%200%201-.68.127Z%27%2F%3E%3C%2Fg%3E%3Cdefs%3E%3CclipPath%20id%3D%27a%27%3E%3Cpath%20fill%3D%27%23fff%27%20d%3D%27M0%200h15.83v15.21H0z%27%2F%3E%3C%2FclipPath%3E%3C%2Fdefs%3E%3C%2Fsvg%3E)

LXD: five easy pieces

Michael Iatrou
on 26 January 2018
Tags: containers , LXD , machine containers , Ubuntu Product Month
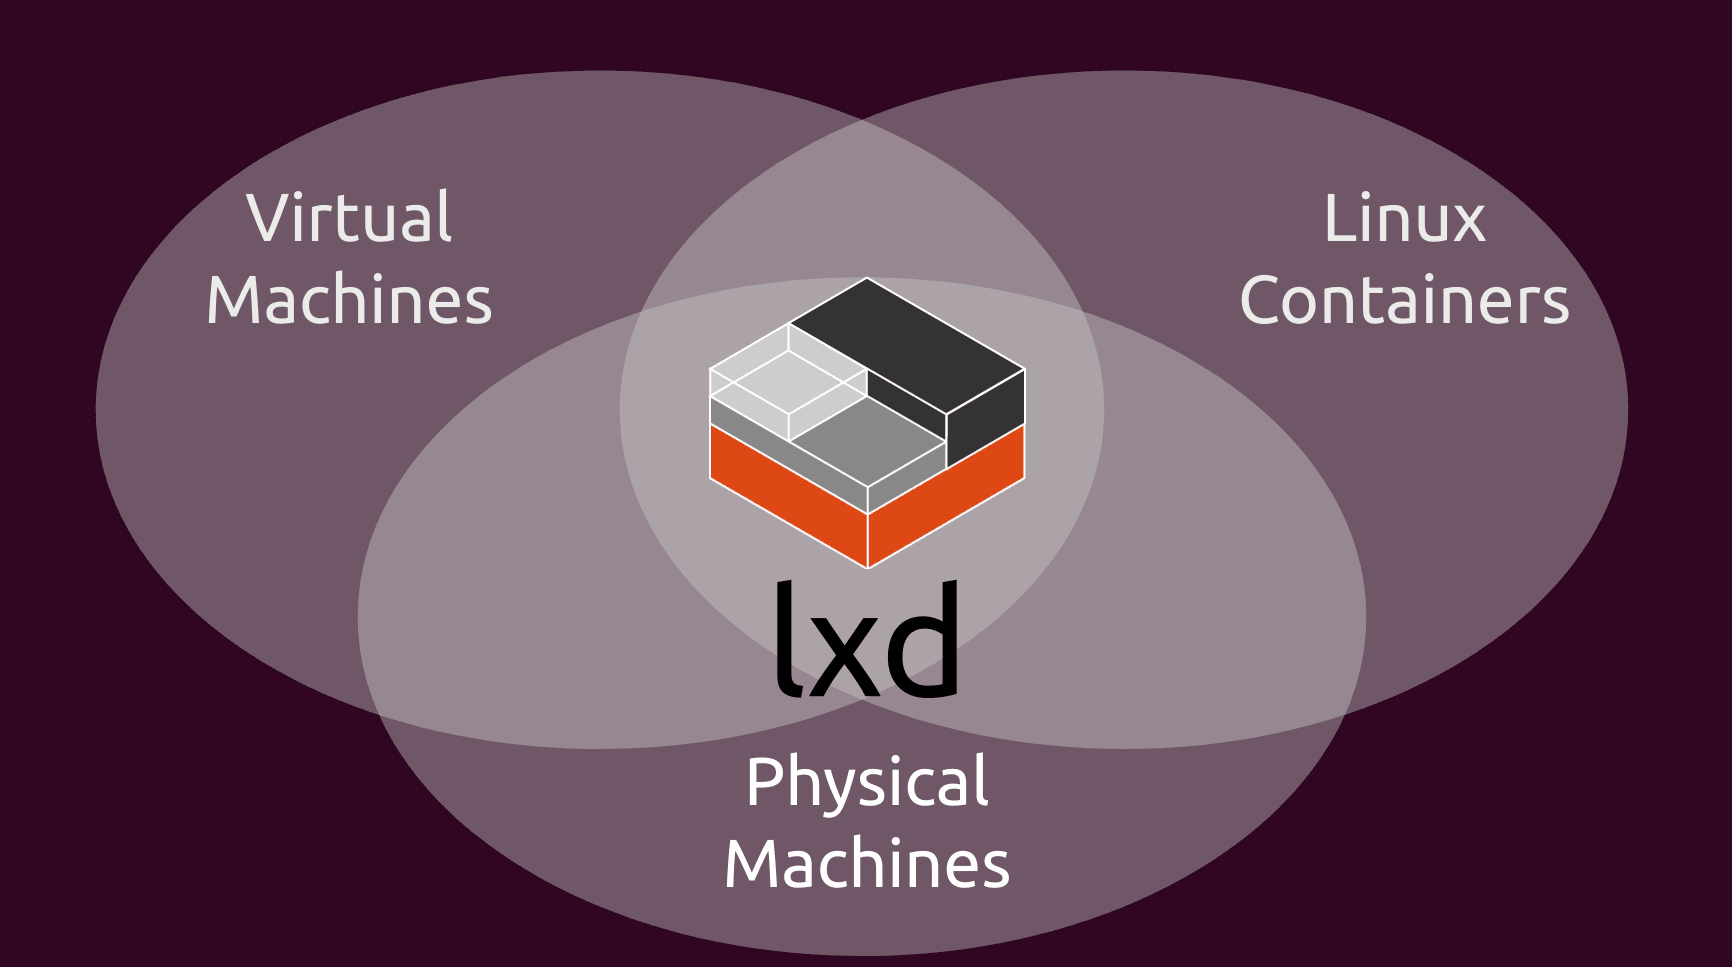
Machine containers, like LXD, proliferate in the datacenters: they provide a native control plane for OpenStack and a lightweight hypervisor for its tenants. LXD optimizes resource allocation and utilization for Kubernetes clusters, modernizes workload management in HPC infrastructure and streamlines lift and shift for legacy applications running on virtual machines or bare metal.
On the other end of the spectrum, LXD provides a great experience running on developers’ laptops, for anything from maintaining traditional monolithic applications, lightweight disposable testing environments, to developing process container encapsulated microservices. If you are taking your first steps with LXD, here are 5 simple things worth knowing:
1. Install the latest LXD
Ubuntu Xenial comes with LXD installed by default and it is fully supported for production environments for at least 5 years, as part of the LTS release. In parallel, the LXD team is quickly adding new features. If you want to see the latest and greatest, make sure you use the up to date xenial backports:
$ sudo apt install -t xenial-backports lxd lxd-client
$ dpkg -l | grep lxd
ii  lxd         2.21-0ubuntu amd64   Container hypervisor based on LXC
ii  lxd-client  2.21-0ubuntu amd64   Container hypervisor based on LXC
With the packages from backports you will be able to follow closely the upstream development of LXD.
2. Use ZFS
Containers see significant benefits from a copy-on-write filesystem like ZFS. If you have a separate disk or partition, use ZFS for the LXD storage pool. Make sure you install zfsutils-linux before you initialize LXD:
$ sudo apt install zfsutils-linux
$ lxd init
Do you want to configure a new storage pool (yes/no) [default=yes]?
Name of the new storage pool [default=default]:
Name of the storage backend to use (dir, btrfs, lvm, zfs) [default=zfs]:
Create a new ZFS pool (yes/no) [default=yes]?
Would you like to use an existing block device (yes/no) [default=no]? yes
Path to the existing block device: /dev/vdb1
Especially for launch, snapshot, restore and delete LXD operations, ZFS as a storage pool performs much better than the alternatives.
3. Get a public cloud instance on your laptop
Whether you are using AWS, Azure or GCP, named instance types are the lingua franca for resource allocation. Do you want to get a feel of how the application you develop on your laptop would behave on a cloud instance? Quickly spin up a LXD container that matches the desired cloud instance type and try it:
$ lxc launch -t m3.large ubuntu:16.04 aws-m3large
Creating aws-m3large
Starting aws-m3large
$ lxc exec aws-m3large -- grep ^processor /proc/cpuinfo | wc -l
2
$ lxc exec aws-m3large -- free -m
      total     used     free   shared  buff/cache   available
Mem:   7680      121     7546      209        12        7546
LXD applied resource limits to the container, to restrict CPU and RAM and provide an experience analogous to the requested instance type. Does it look like your application could benefit from additional CPU cores? LXD allows you to modify the available resources on the fly:
$ lxc config set aws-m3large limits.cpu 3
$ lxc exec aws-m3large -- grep ^processor /proc/cpuinfo | wc -l
3
Testing and adjusting quickly the container resources helps with accurate capacity planning and avoiding overprovisioning.
4. Customize containers with profiles
LXD profiles store any configuration that is associated with a container in the form of key/value pairs, or device designation. Each container can have one or more profiles applied to it. When multiple profiles are applied to a container, existing options are overridden in the order they are specified. A default profile is created automatically and it’s used implicitly for every container, unless a different one is specified.
A good example for customizing the default LXD profile is enabling public key SSH authentication. The Ubuntu LXD images have SSH enabled by default, but they do not have a password or a key. Let’s add one:
First, export the current profile:
$ lxc profile show default > lxd-profile-default.yaml
Modify the config mapping of the profile to include user.user-data as follows:
config:
 user.user-data: |
    #cloud-config
    ssh_authorized_keys:
      - @@SSHPUB@@
  environment.http_proxy: ""
  user.network_mode: ""
description: Default LXD profile
devices:
  eth0:
    nictype: bridged
    parent: lxdbr0
    type: nic
  root:
    path: /
    pool: default
    type: disk
name: default
used_by: []
Make sure that you have generated an SSH key pair for the current user, and then run:
$ sed -ri "s'@@SSHPUB@@'$(cat ~/.ssh/id_rsa.pub)'" lxd-profile-default.yaml
And finally, update the default profile:
$ lxc profile edit default < lxd-profile-default.yaml
You should now be able to SSH into your LXD container, as you would do with a VM. And yes, adding SSH keys barely scratches the surface of just in time configuration possibilities using cloud-init.
The LXD autostart behavior is another option to consider tuning in the default profile: out of the box, when the host machine boots, all the LXD containers are started. That is exactly the behavior you want for your servers. For your laptop though, you might want to start containers only as needed. You can configure autostart directly for the default profile, without using an intermediate YAML file for editing:
$ lxc profile set default boot.autostart 0
All existing and future containers with the default profile will be affected by this change. You can see the profiles applied to each existing container using:
$ lxc list -c ns46tSP
Familiarize with the functionality profiles offer, it’s a force multiplier for day to day activities and invaluable for structured repeatability.
5. Access the containers without port-forwarding
LXD creates an “internal” Linux bridge during its initialization (lxd init). The bridge enables an isolated layer 2 segment for the containers and the connectivity with external networks takes place on layer 3 using NATing and port-forwarding. Such behavior facilitates isolation and minimizes external exposure — both of them desirable characteristics. But because LXD containers offer machine-like operational semantics, for some use cases it’s appropriate to have LXD guests share the same network segment with their host.
Let’s see how this is easily configurable on a per container basis, using profiles. It’s assumed that on the host you have configured a bridge, named br0, with a port associated with an Ethernet interface.
We create a new LXD profile:
lxc profile create bridged
And then we map the eth0 NIC of the container to the host bridge br0:
$ cat lxd-profile-bridged.yaml
description: Bridged networking LXD profile
devices:
  eth0:
    name: eth0
    nictype: bridged
    parent: br0
    type: nic
$ lxc profile edit bridged < lxd-profile-bridged.yaml
Finally, we launch a new container with both the default and the bridged profile. In the command line we specify bridged last, so it supersedes the overlaping network configuration.
$ lxc launch ubuntu:x c1 -p default -p bridged
The container will be using DHCP to retrieve an IP address, on the same subnet as the host:
$ ip a s br0
3: br0:  mtu 1500 qdisc noqueue state UP group default qlen 1000
    link/ether AA:BB:CC:DD:EE:FF brd ff:ff:ff:ff:ff:ff
    inet 192.168.1.171/24 brd 192.168.1.255 scope global br0
       valid_lft forever preferred_lft forever

$ lxc exec c1 -- ip a s eth0
101: eth0@if102:  mtu 1500 qdisc noqueue state UP group default qlen 1000
    link/ether 00:AA:BB:CC:DD:EE brd ff:ff:ff:ff:ff:ff link-netnsid 0
    inet 192.168.1.172/24 brd 192.168.1.255 scope global eth0
       valid_lft forever preferred_lft forever
Bridged networking is the simplest way to develop and test applications with
LXD in more production-like network environments. Another networking configuration alternative is macvlan but be aware of its caveats, mainly host-guest communication and hardware support limitations.
These 5 easy pieces are just the tip of the iceberg. LXD liberates your laptop from the tyranny of heavyweight virtualization and simplifies experimentation. Join the Linux Containers community to discuss your use cases and questions. Delve into the documentation for inspiration and send us PRs with your favorite new features.
LXD is the kind of tool that, after you get to know each other, using it on a daily basis feels inevitable. Give it a try!
Want to know more?
On February 7th, technical lead Stephane Graber will be presenting a webinar for Ubuntu Product Month that will dive into how LXD works, what it does, how it can be used in the enterprise, and even provide an opportunity for Q&A.
Fast, dense, and secure container and VM management at any scale
LXD brings flexible resource limits, advanced snapshot and networking support, and better security — all making for easier, leaner and more robust containerised solutions and VMs.