
Lunch and learn with OpenStack containers

Mark Baker
on 15 August 2016
Tags: containers , docker , LXC , OpenStack , zfs
Follow the instructions in this article to spend around an hour over your lunch time to get an entire Ubuntu OpenStack cloud up and running in containers on a single machine. The resulting cloud will launch container based workloads.

News about containers with OpenStack is everywhere right now. Be it OpenStack running on containers, running containers in OpenStack, orchestrating containers across multiple clouds including OpenStack or setting up networking for containers within OpenStack, there is much a buzz. Some of it many OpenStack distributions have been making extensive use of containers to run OpenStack services for well over 12 months. Canonical is no exception and was one of the first distributions to deploy OpenStack services in containers. It is now really easy to setup a real (i.e not DevStack) cloud on a single machine that is 100% container based.
Pre-requisites
Desktop, laptop, server or VM with 16B RAM and 50Gb disk space available, running Ubuntu 16.04
Note we recommend using the Ubuntu Desktop edition for testing as it will allow you to access Horizon from a browser without the need to setup external networking or dealing with ssh tunnels and port forwarding.
Instructions
First, make sure 16.04 is up to date:
$ sudo apt update
$ sudo apt upgrade
This should bring everything up to date.
Now install zfs and lxd:
$ sudo apt install zfs lxdand reboot
$ sudo rebootNext, setup lxd to use zfs:
$ sudo lxd initThis will ask a number of questions, recommended answers are in bold:
Name of the storage backend to use (dir or zfs): zfs
Create a new ZFS pool (yes/no)? yes
Name of the new ZFS pool: OpenStack
Would you like to use an existing block device (yes/no)? no
Size in GB of the new loop device (1GB minimum): 50
Would you like LXD to be available over the network (yes/no)? no
Do you want to configure the LXD bridge (yes/no)? yes
This will launch a ncurses interface to setup LXD networking
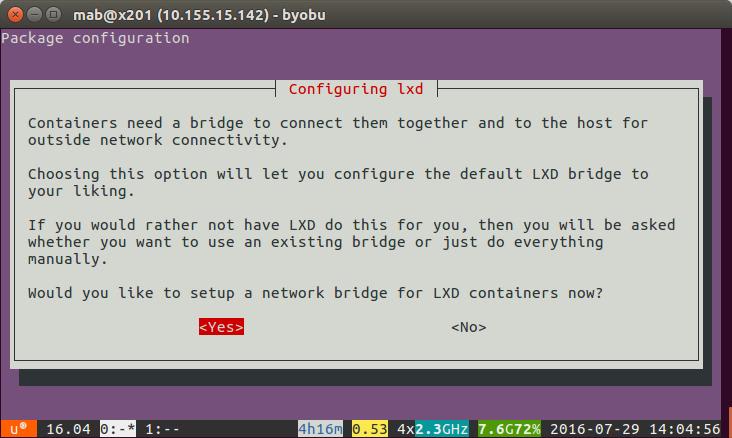
Hit return to accept the defaults until you see
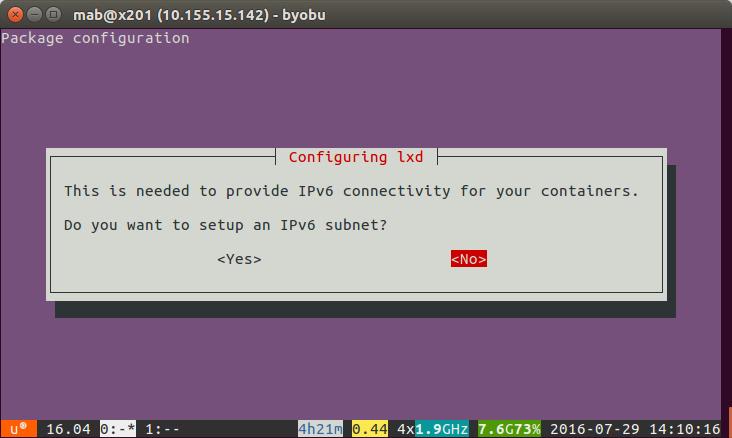
Given we just want to this up on our own, internal environment we can skip IPV6 for now so select No and then hit return. This will drop you back out to the bash prompt.
Now we need to get lxd running and the network bridge loaded:
$ lxc finger
$ lxc list
This will give some output along the lines of:
Generating a client certificate. This may take a minute...
If this is your first time using LXD, you should also run: sudo lxd init
To start your first container, try: lxc launch ubuntu:16.04

+------+-------+------+------+------+-----------+
| NAME | STATE | IPV4 | IPV6 | TYPE | SNAPSHOTS |
+------+-------+------+------+------+-----------+
Next, add a repository to grab the latest conjure-up packages:
$ sudo apt-add-repository ppa:conjure-up/nextLikewise for Juju:
$ sudo apt-add-repository ppa:juju/develUpdate our repos once more:
$ sudo apt updateInstall the conjure-up package:
$ sudo apt install conjure-upThis will install quite a few things including juju and may take a few minutes, when it finishes you can get going installing OpenStack with:
$ conjure-up openstackThis will launch ncurses interface to setup OpenStack
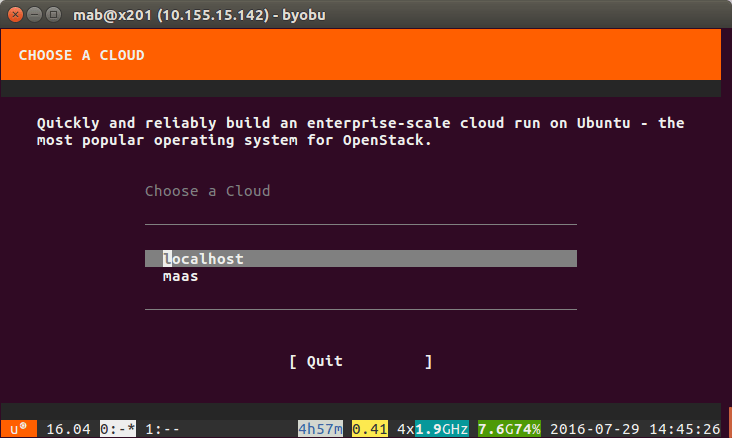
Select localhost as the target as we want to set it all up locally and then select ‘OpenStack with Nova-LXD’
As the install requires Ceph you will now be asked a question about the number of Ceph Units you want to run.
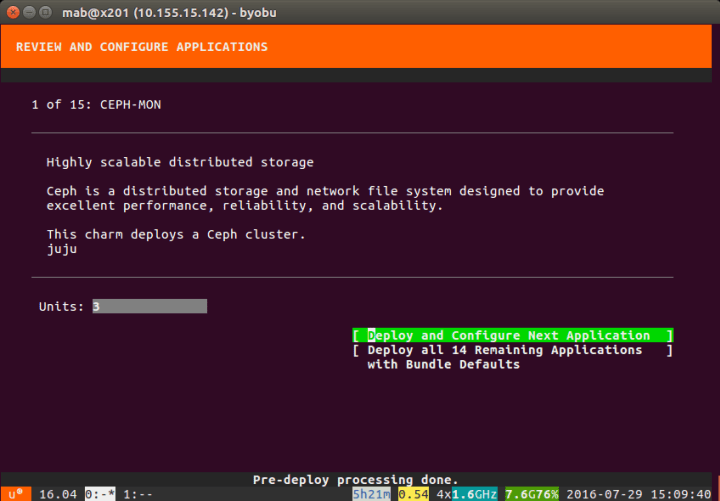 Select the option [ Deploy all 14 Remaining Applications with Bundle Defaults ]
On the final screen hit ‘Continue’ and you should be installing. Depending on your hardware this could take anywhere between 30 and 60 mins. Now is a great time to eat your lunch whilst watching the progress.
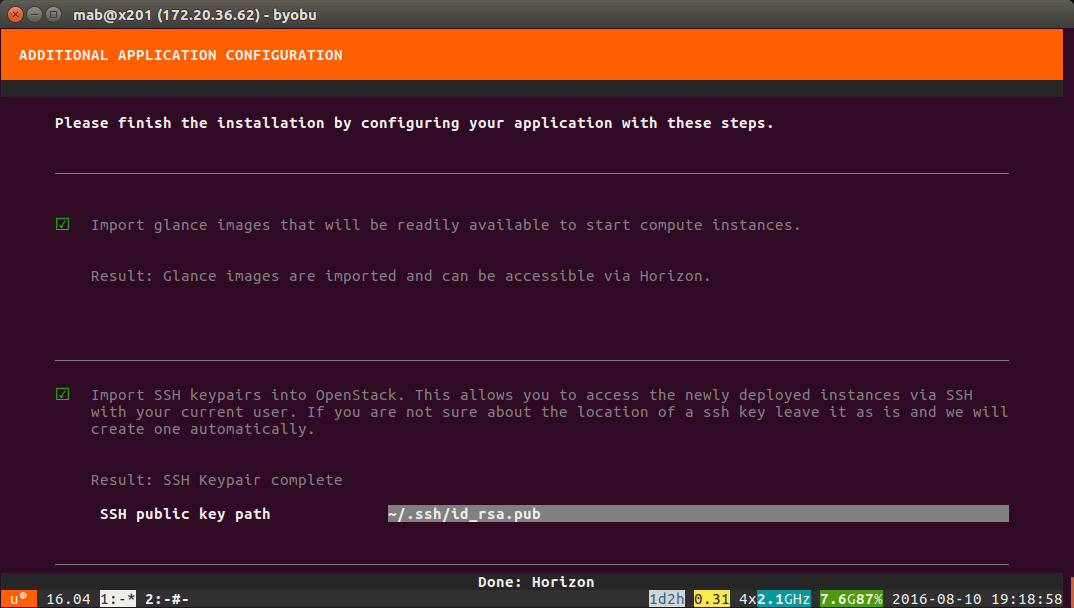
Once the services are deployed, you will be asked a number of questions:
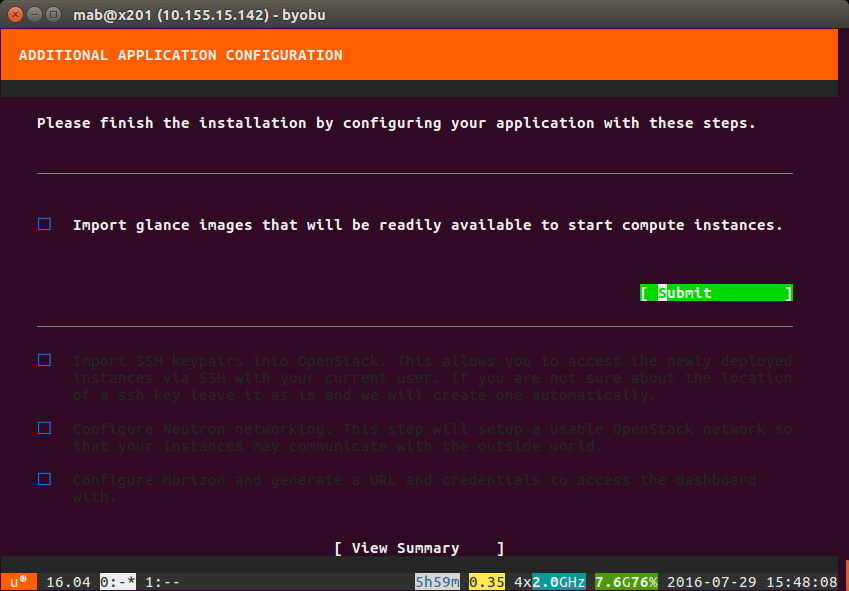
- Import glance images – yes
- Import SSH keypairs – recommended if you have an ssh key.
- Configure OpenStack networking – required if you wish to be able to access the running guest instances from the outside world.
- Configure Horizon – yes
Do not hit “View Summary” just yet – you need to wait until each of the hour glasses next to the questions turns green. Only once you have 5 green lights should you hit [View Summary] as below:
Once complete you will be presented with a url and username/password combination to login to Horzion. We need to ensure that Horizon is accessible form the outside world:
$ juju expose openstack-dashboardThen
$ juju status openstack-dashboardMake sure that the service is exposed and copy its ip address
launch a browser and give it a go using the ip http://<ip_address>/horizon
Default username = admin
Default password = openstack
If you want to see all the containers running on your machine run:
$ lxc listthis should give you output along the lines of:
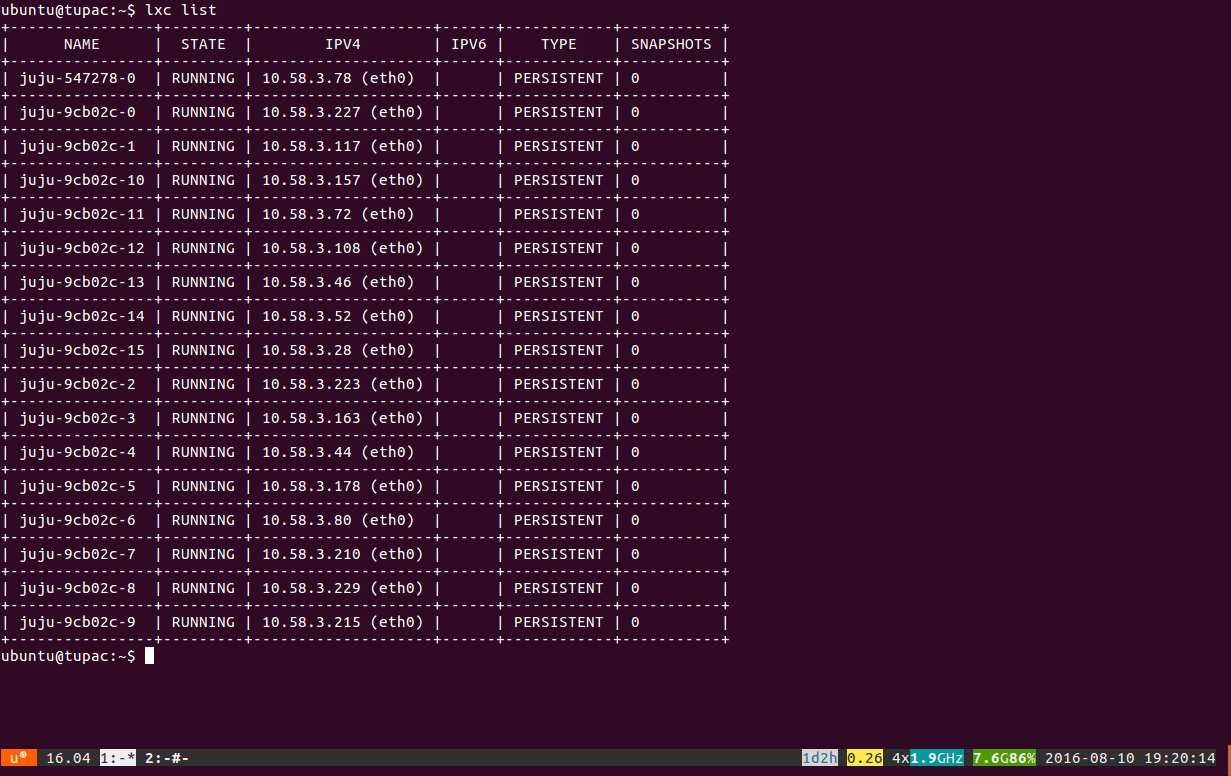
Each line represents a container running an OpenStack service. If you want to access any of the containers to poke around you can run:
$ lxc exec <service name as given in the first column> bashfor example:
$ lxc exec juju-9cb02c-9 bashIn the next installment we’ll show you how to deploy workloads into your newly running cloud. In the mean time have fun!
Smart operations, optimal architecture, better pricing.
OpenStack and Ubuntu bring automated deployment and management that help you optimize infrastructure costs — no matter your industry or use case.
Newsletter signup
Related posts
OpenStack cloud – happy 15th anniversary!
Happy birthday, OpenStack! It’s astonishing how fast time flies – fifteen years already. Yet, here we are: OpenStack cloud still stands as a de facto standard...
Join Canonical at the first-ever African OpenInfra Days
For the second time, and in less than one month, Canonical is coming to East Africa! Three weeks ago, we had the first-ever UbuCon Africa, which was...
OpenStack PoC? No problem!
Setting up a proof of concept (PoC) environment is often one of the first steps in any IT project. It helps organizations to get to grips with the technology,...