Your submission was sent successfully! Close

You have successfully unsubscribed! Close

Navigate through the OpenStack dashboard menu

1. Overview

Before you get started!

Welcome to OpenStack!

In this series of tutorials, we will walk you through all the necessary steps to install, configure and get started with OpenStack. Using just your workstation, you will learn how to use OpenStack for cloud infrastructure implementation purposes, from a single-node installation to large-scale clusters.

This tutorial is the fourth in the “Phase I - Single-node OpenStack on your workstation” series.

Explore other tutorials >

What is OpenStack?

OpenStack is the most popular open source cloud platform that aggregates distributed compute, network and storage resources in the data centre and enables on-demand provisioning of virtual machines through a self-service portal. OpenStack powers thousands of public and private clouds all over the world, providing rapid access for greater innovation and better economics.

Learn more about OpenStack >

What is MicroStack?

MicroStack is a micro cloud platform based on OpenStack, designed for the edge and small-scale data centre deployments, that can be installed and maintained with minimal effort. MicroStack eliminates the complexity behind OpenStack, providing an opinionated approach to OpenStack architecture design and a straightforward installation method.

Learn more about MicroStack >

What is Charmed OpenStack?

Charmed OpenStack is an enterprise cloud platform based on OpenStack, designed for large-scale data centre deployments, that provides full automation around the initial installation and day-2 operations. Charmed OpenStack abstracts the complexity behind OpenStack, using a composable approach to OpenStack architecture design with model-driven operators (charms).

Learn more about Charmed OpenStack >

In this tutorial, you will learn how to:

  • Navigate through the OpenStack dashboard menu

  • Change admin user password through the OpenStack dashboard

You will only need:

One physical machine with:

MicroStack

These instructions use MicroStack - OpenStack in a snap. MicroStack is also available on other Linux distros, Windows and macOS. Refer to the MicroStack website for more information on how to install MicroStack on an OS other than Ubuntu.


2. Change admin user password

In tutorial “2. Components”, we’ve shown how to obtain the admin user credentials and how to log in to the OpenStack dashboard. In the following tutorial, we’ll demonstrate how to navigate through it.

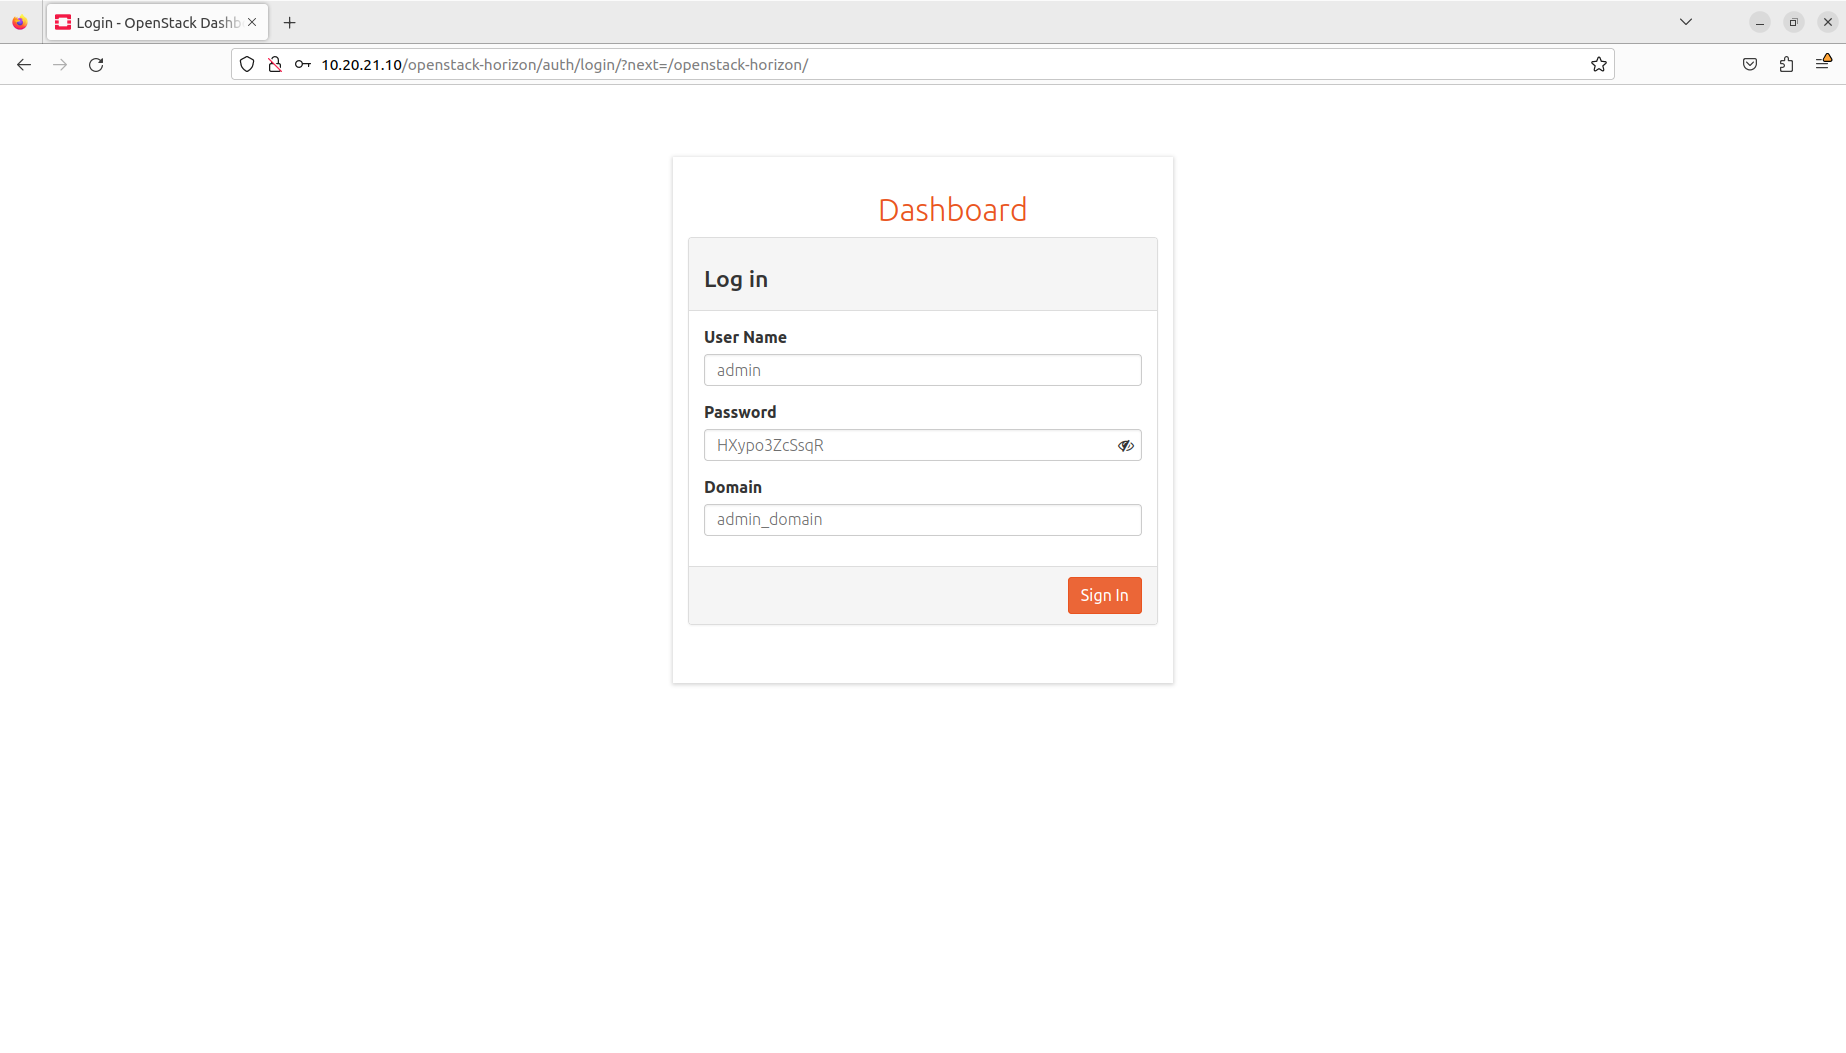
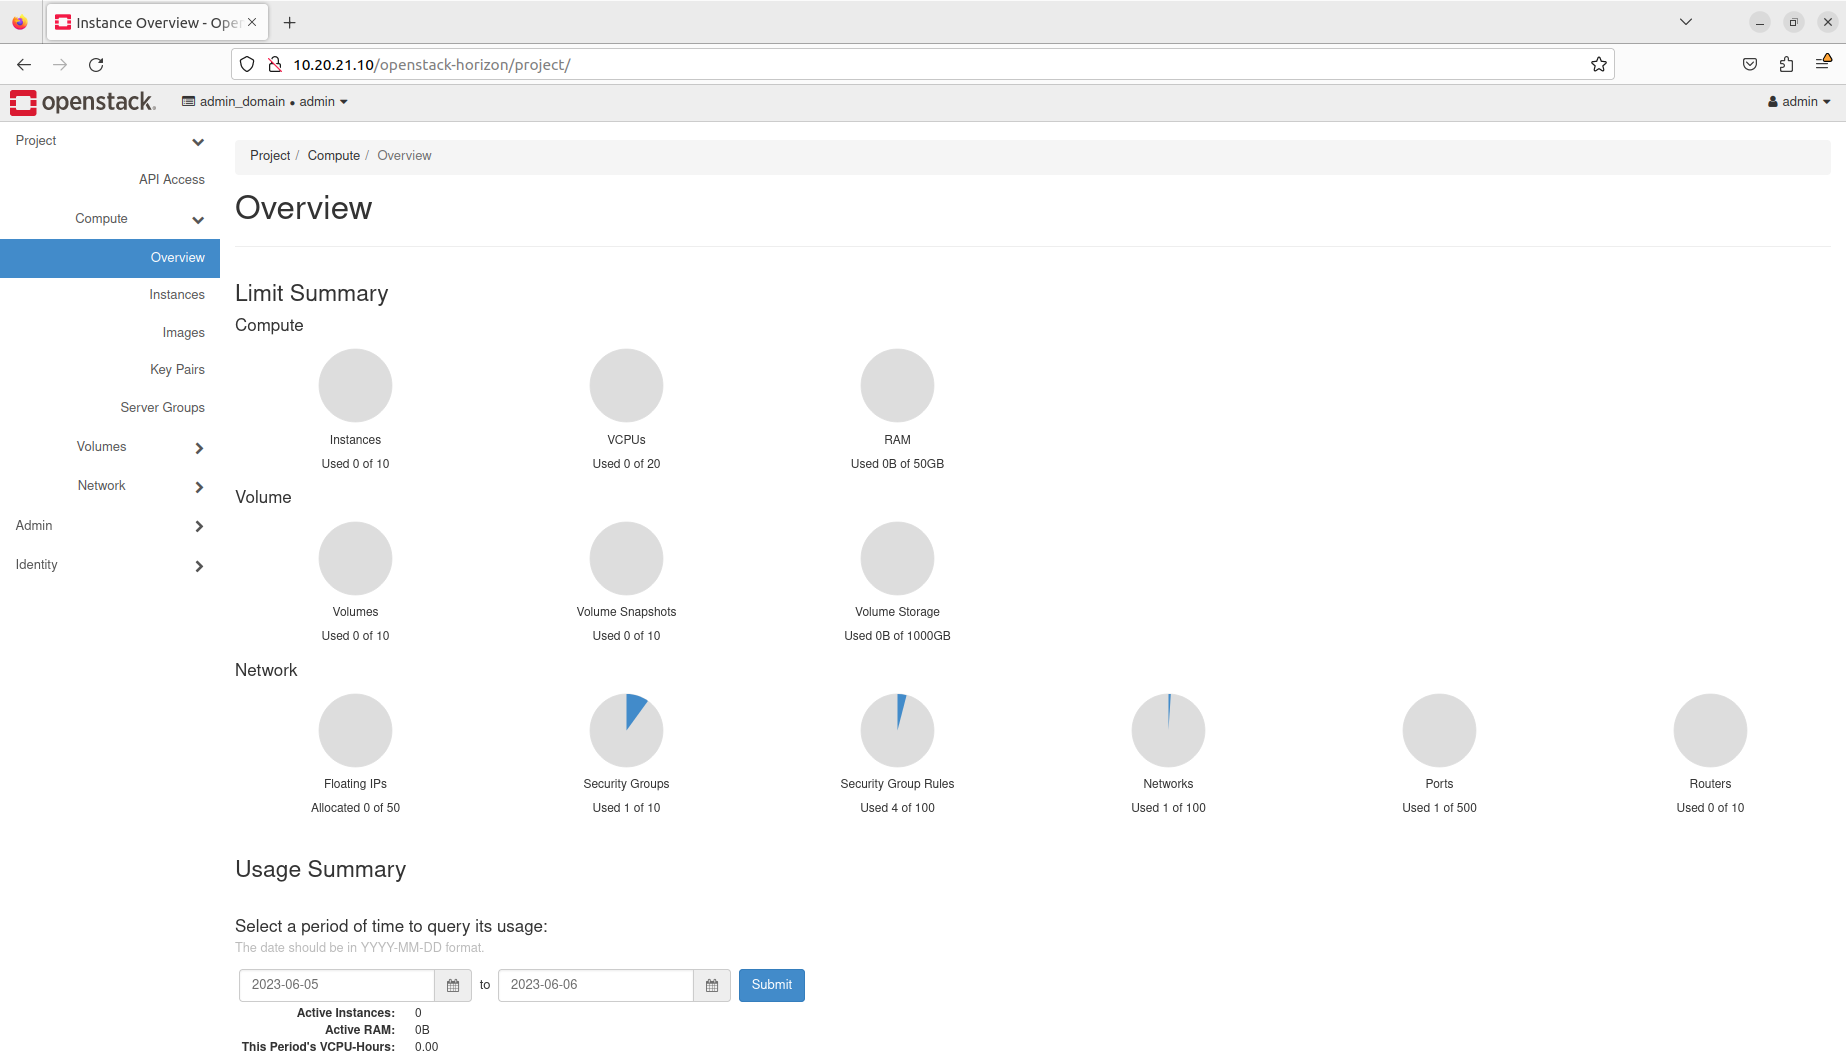
First, go to https://10.20.20.1 and sign in using the admin user credentials. You will see the following page on your screen:

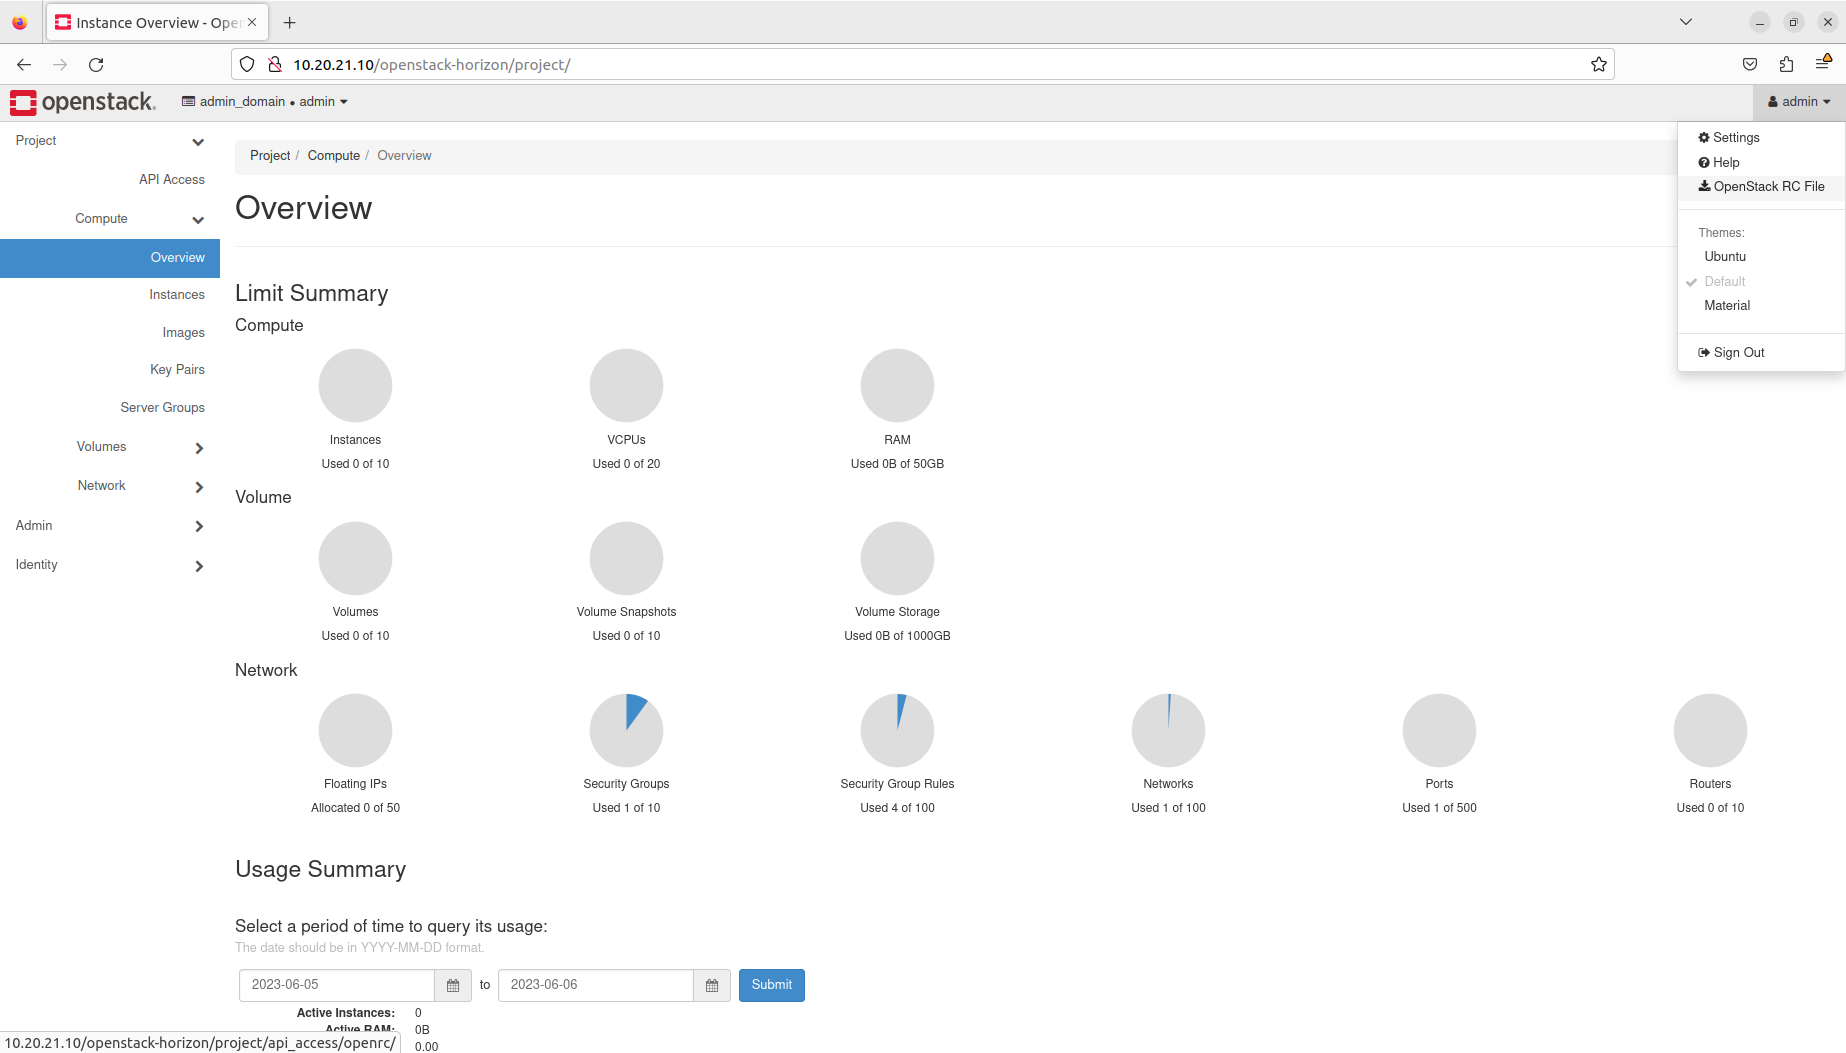
This is the landing page of the OpenStack dashboard. It outlines all the virtual resources that have been created inside of the admin project. As you can see, our OpenStack cloud already has one instance running, which consumes 1 vCPU and 512 MB of RAM.

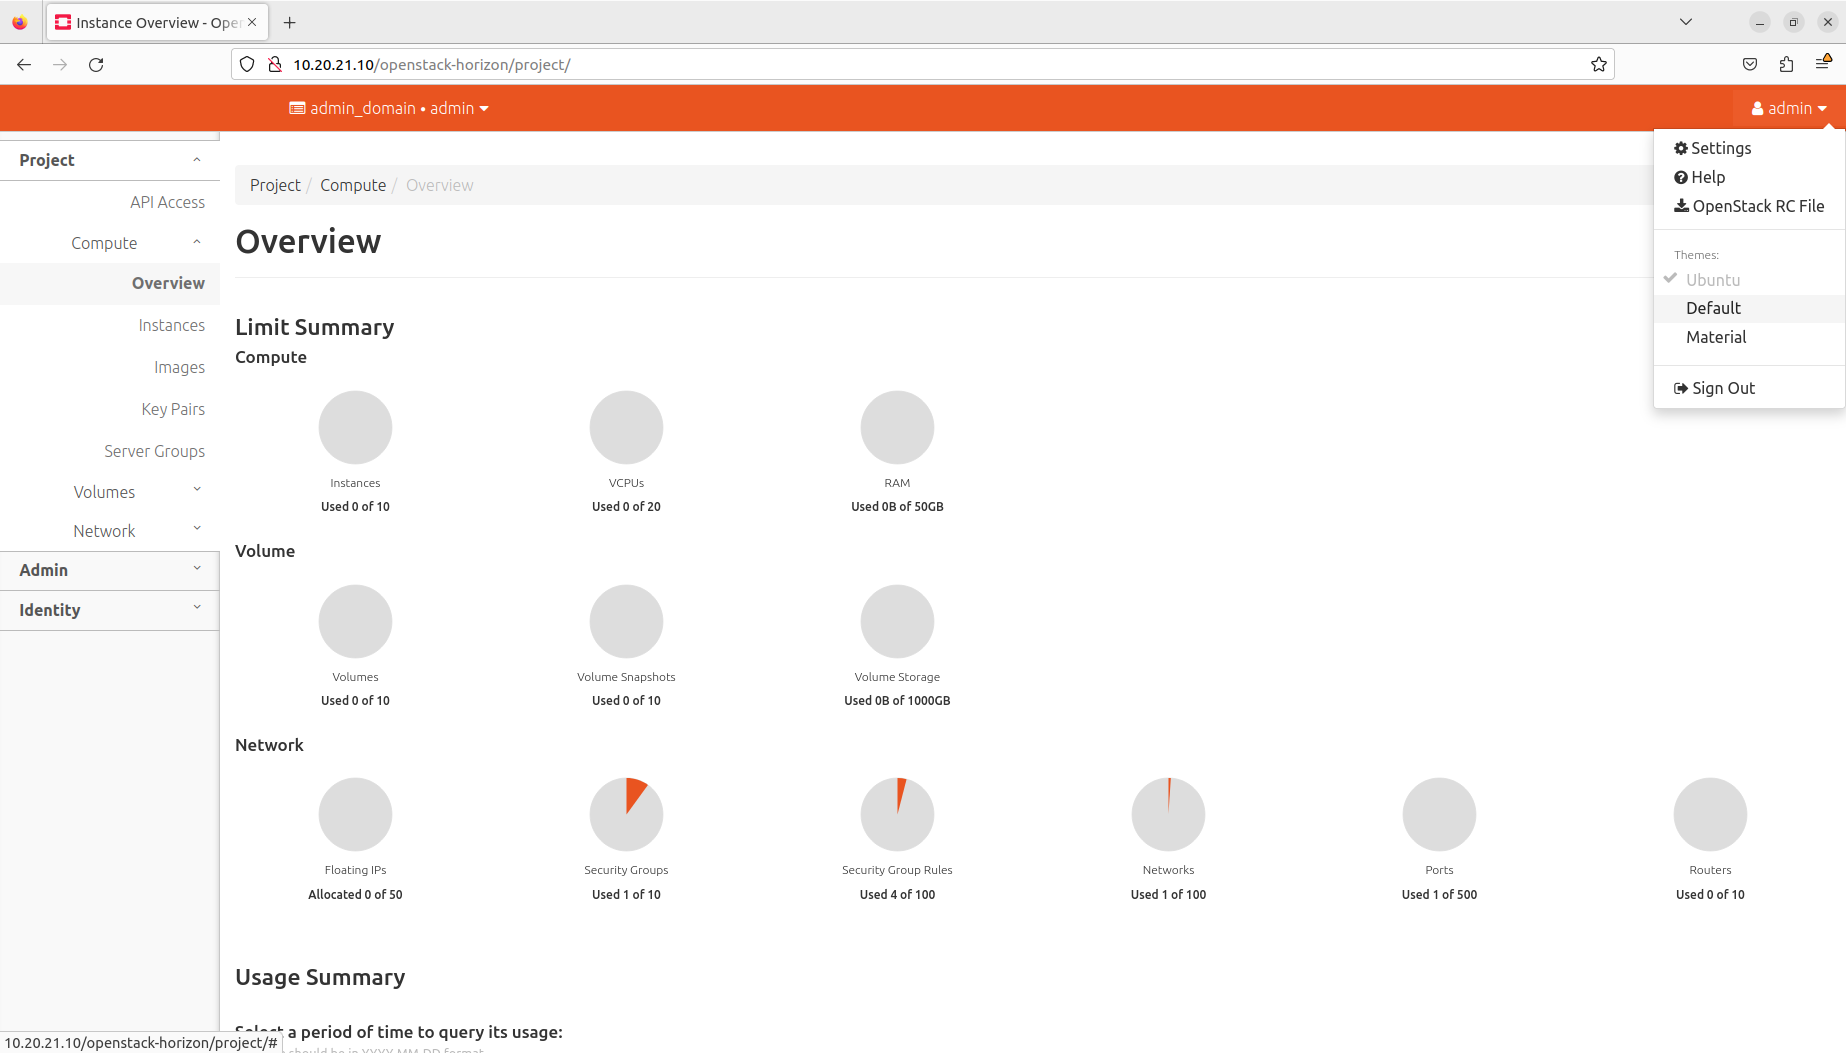
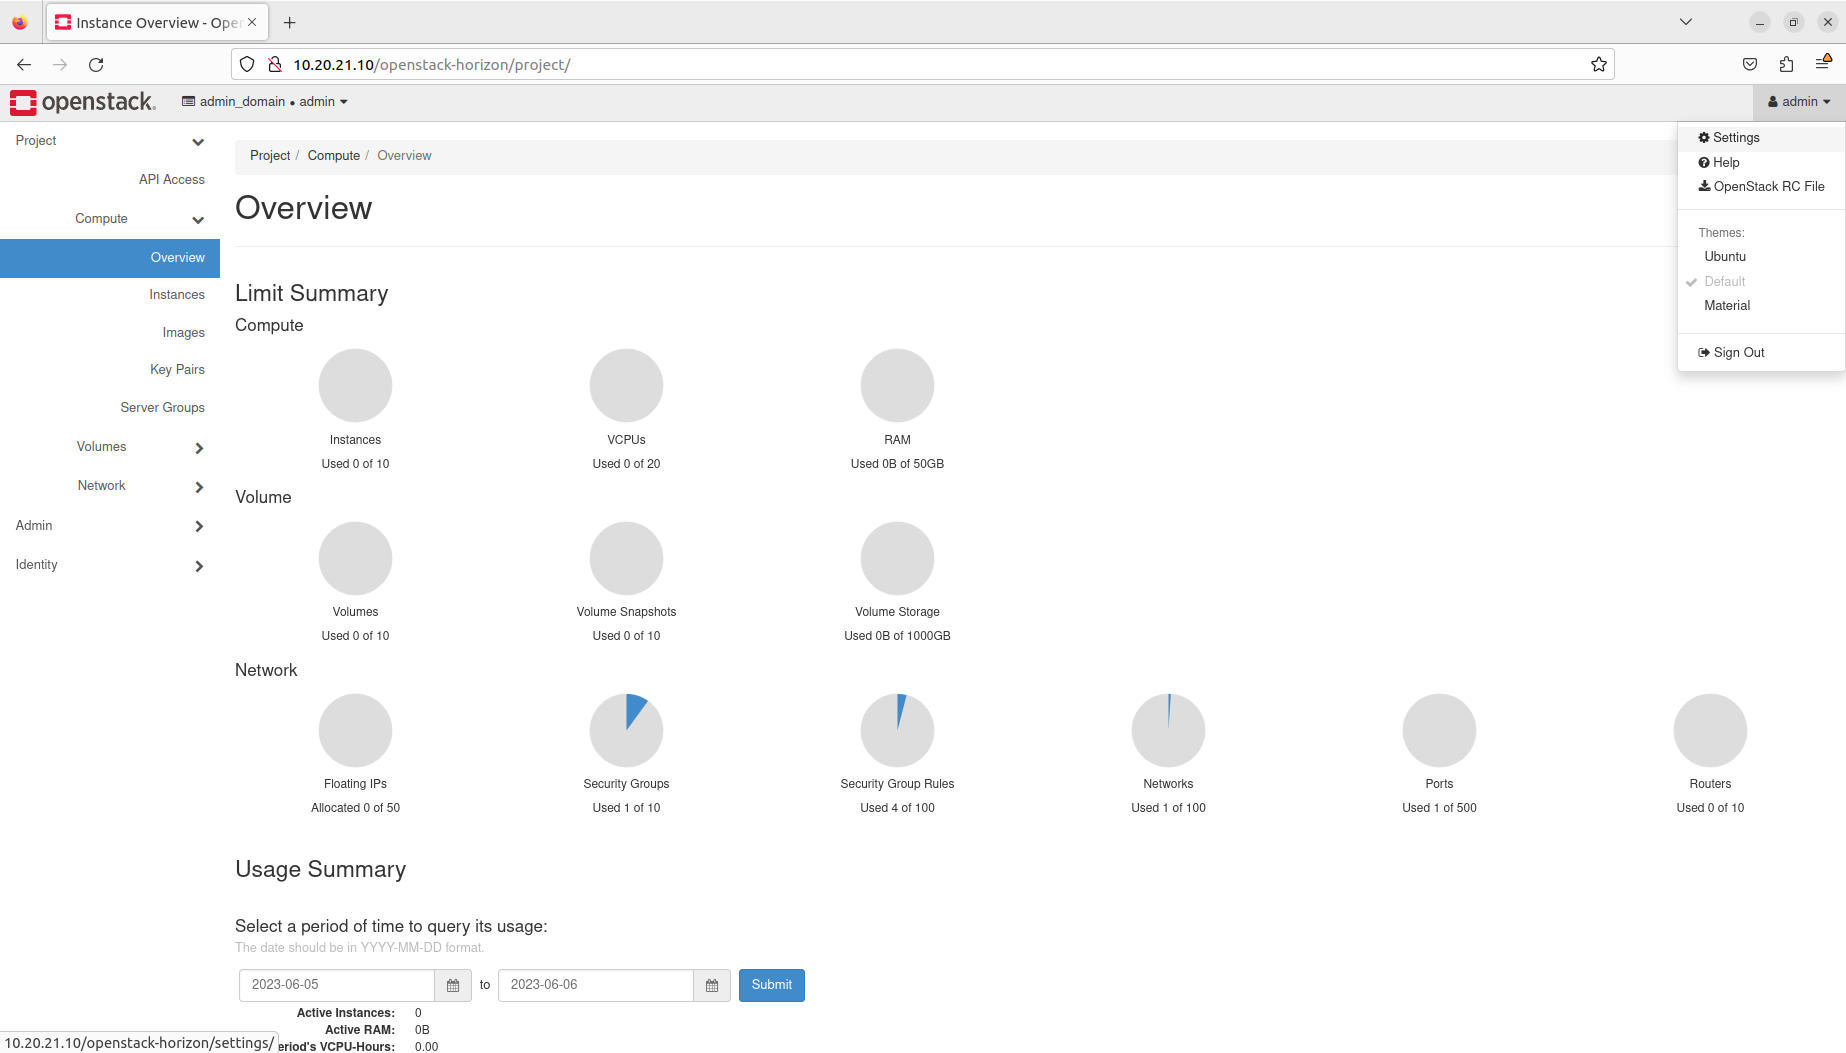
In the top right corner, there is a drop-down menu that shares the name of the current user (admin in this case). By clicking it, you can navigate to the user settings, open OpenStack documentation, download an RC file, change theme or sign out. Let’s click Settings:

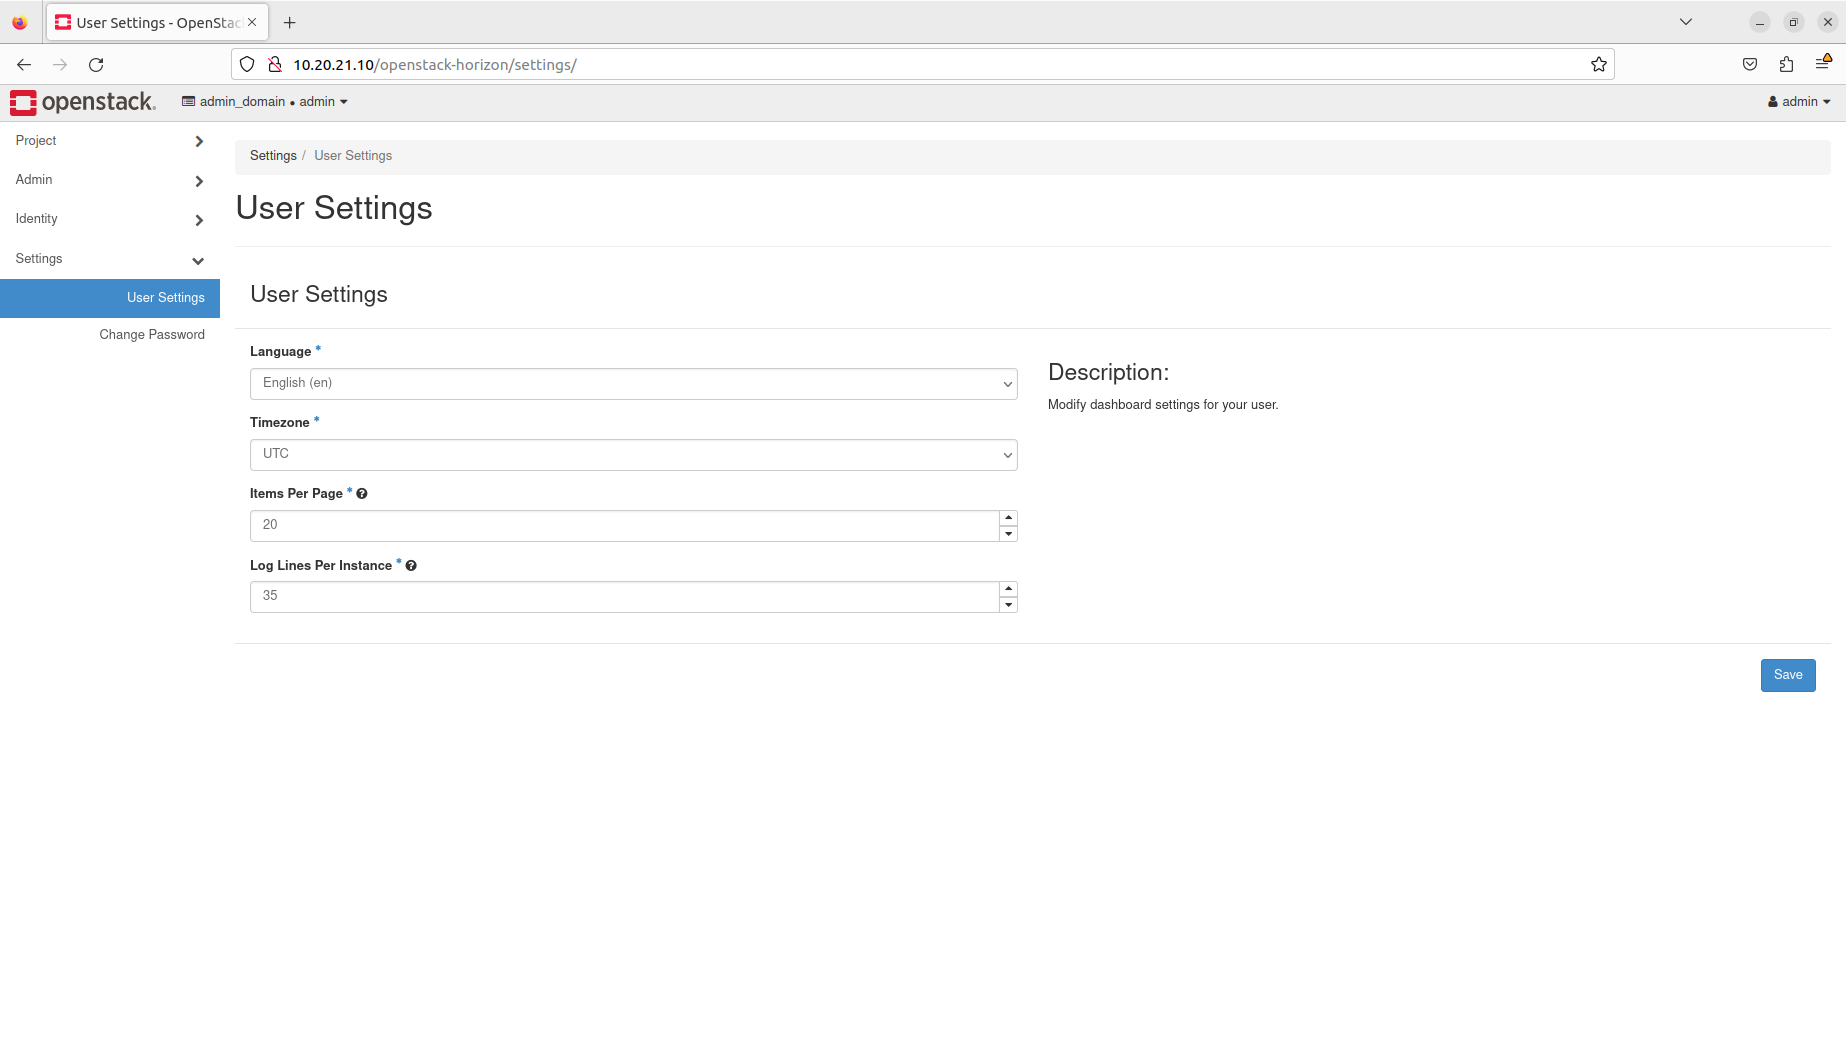
This opens the User Settings tab:

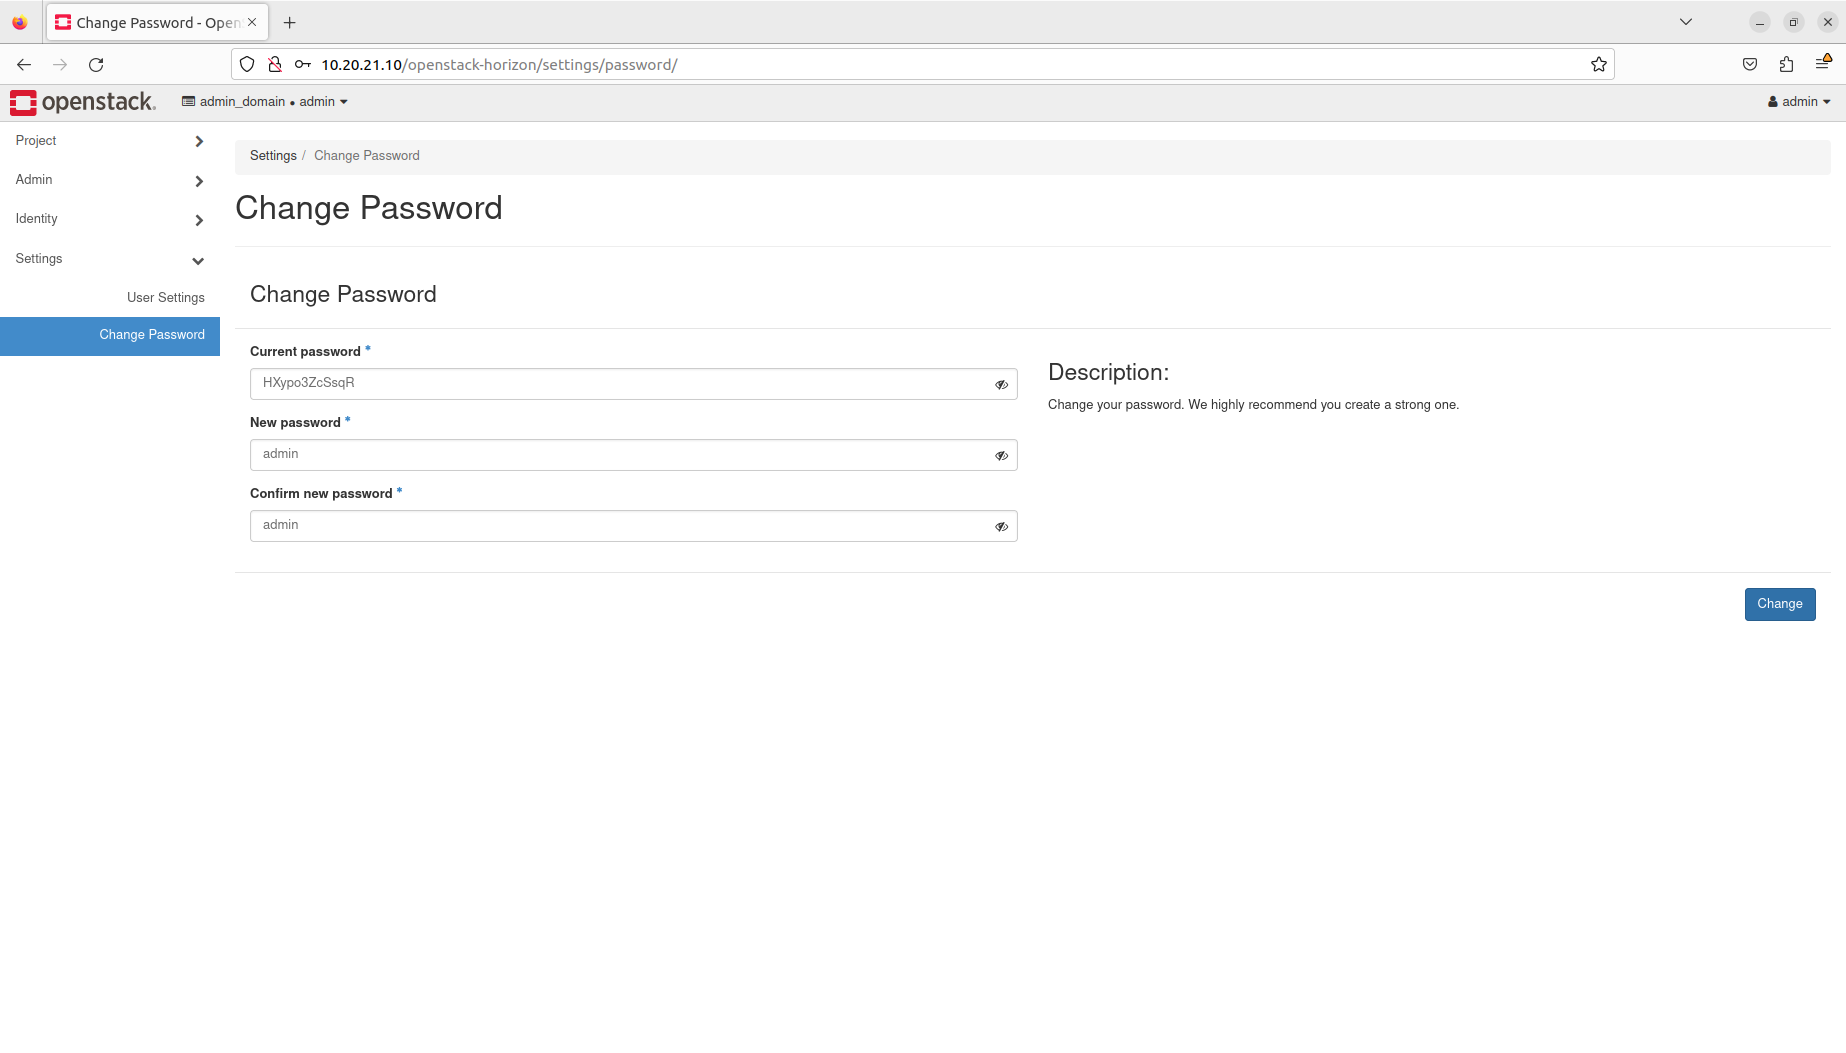
In order to change the password of the admin user, click Change Password in the menu on the left, fill in all the fields, and click the Change button:

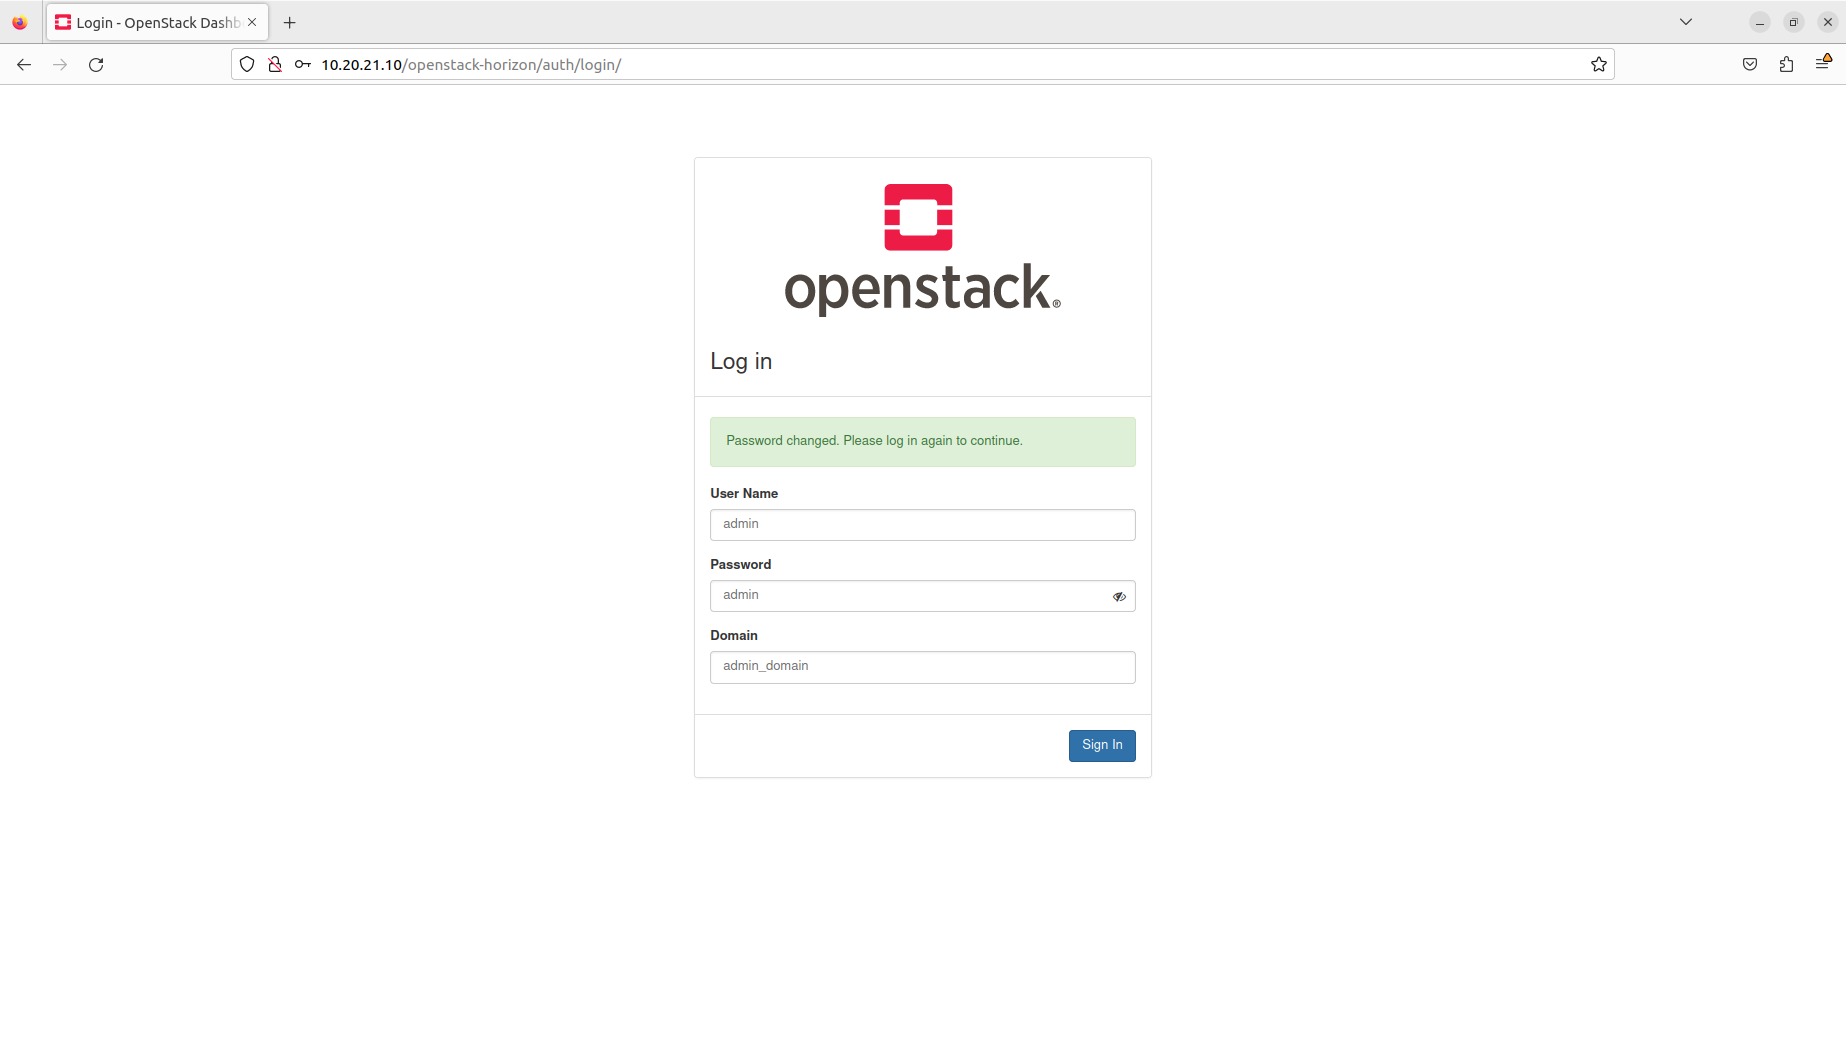
After that, you have to log in to the OpenStack dashboard with the new password:

1.4.5

The big menu on the left is grouped into three sections:

  • Project provides access to project resources.

  • Admin provides access to global resources, excluding identities.

  • Identity provides access to identities.

You now also have to log in to the OpenStack client with the new password. To log in as the admin user through the OpenStack client, open a new terminal window, execute the following command, and type admin when asked for the password:


$ source ~/Downloads/admin-openrc.sh


3. Navigate through the Project menu

In the top left corner, there is a drop-down menu that shares the name of the current project (admin in this case). By clicking it, you can switch to other projects. So far, no other projects have been created:

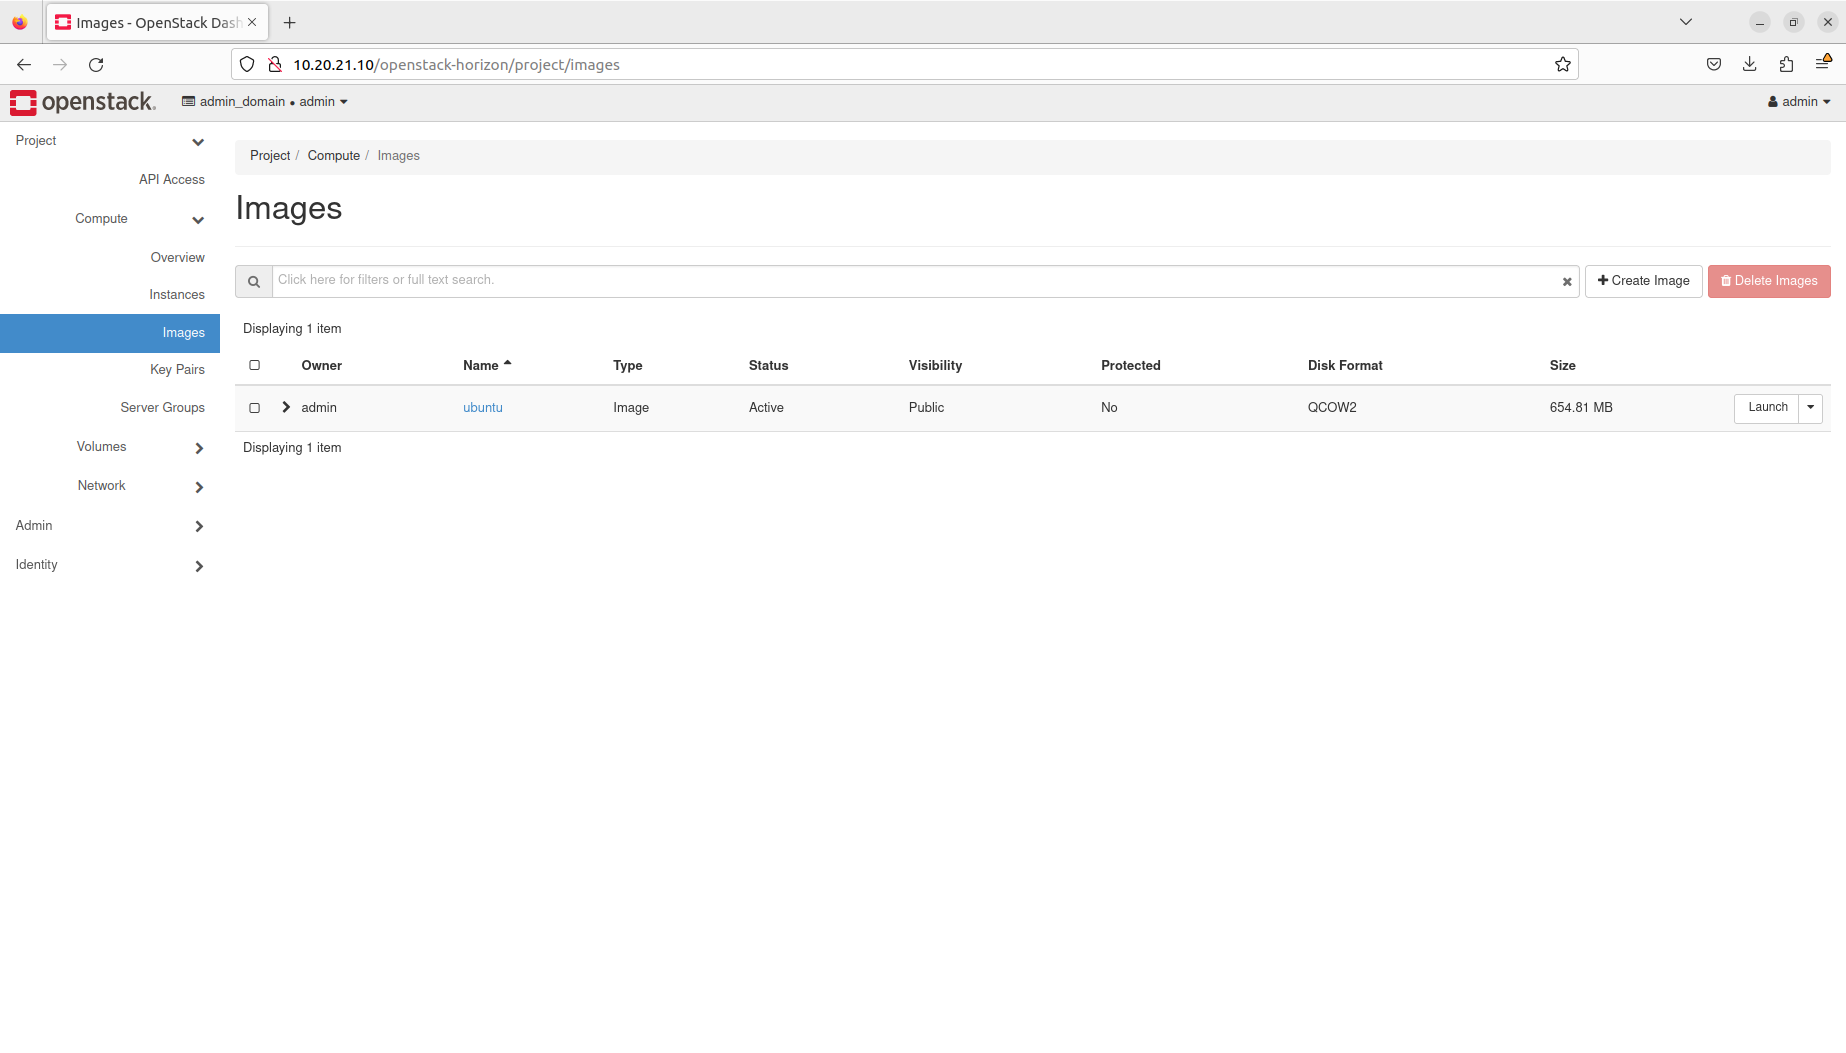
The Project menu on the left is grouped into four sections:

  • API Access provides information about API endpoints of OpenStack services.

  • Compute provides access to project compute resources, such as instances.

  • Volumes provides access to project storage resources, such as persistent block storage volumes.

  • Network provides access to project network resources, such as virtual networks.

For example, to list all running instances inside of the admin project, navigate to Project -> Compute -> Instances:

Note that the IP addresses of the instance (here 192.168.222.128 and 10.20.20.163) may be different in your environment.


4. Navigate through the Admin menu

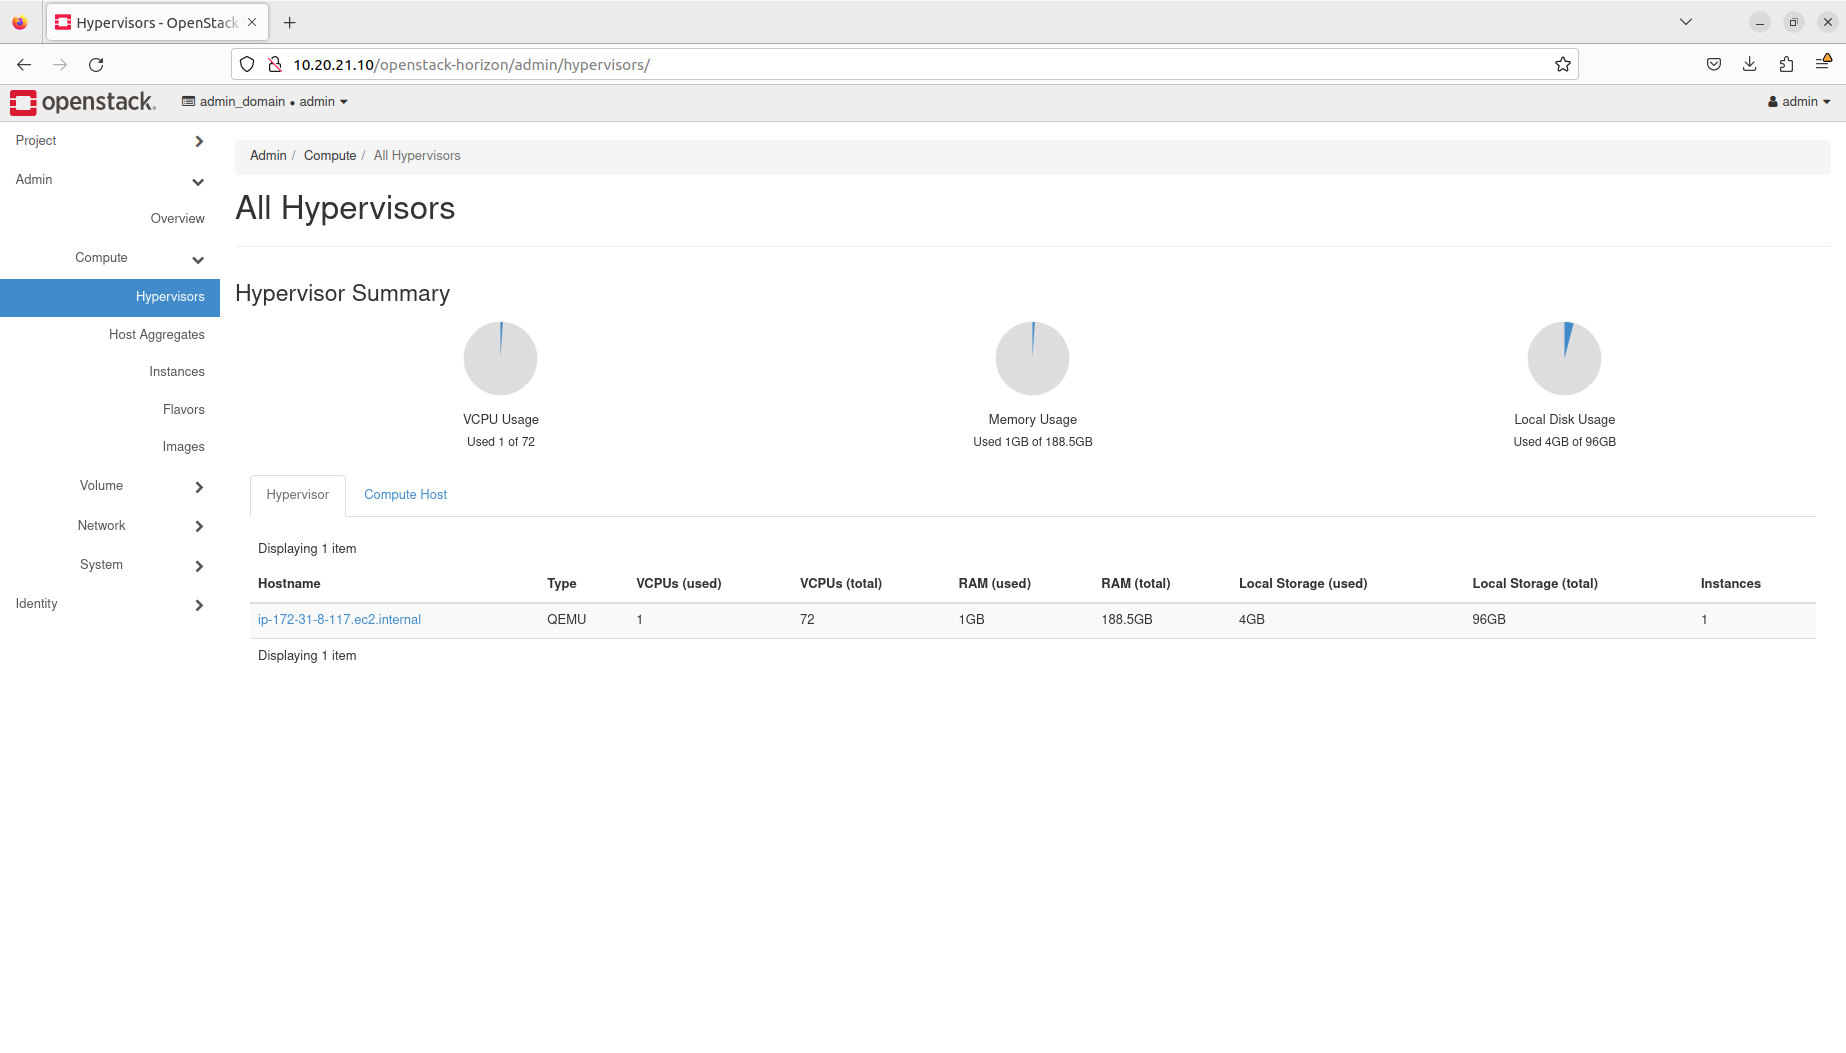
The Admin menu on the left is grouped into five sections:

  • Overview displays usage metrics across all projects.

  • Compute provides access to global compute resources, such as hypervisors.

  • Volume provides access to global storage resources, such as volume types.

  • Network provides access to global network resources, such as RBAC policies.

  • System provides access to global settings, such as quotas.

For example, to list all hypervisors, navigate to Admin -> Compute -> Hypervisors:

Note that the hostname of the hypervisor (here MicroStack-Lab) may be different in your environment.


5. Navigate through the Identity menu

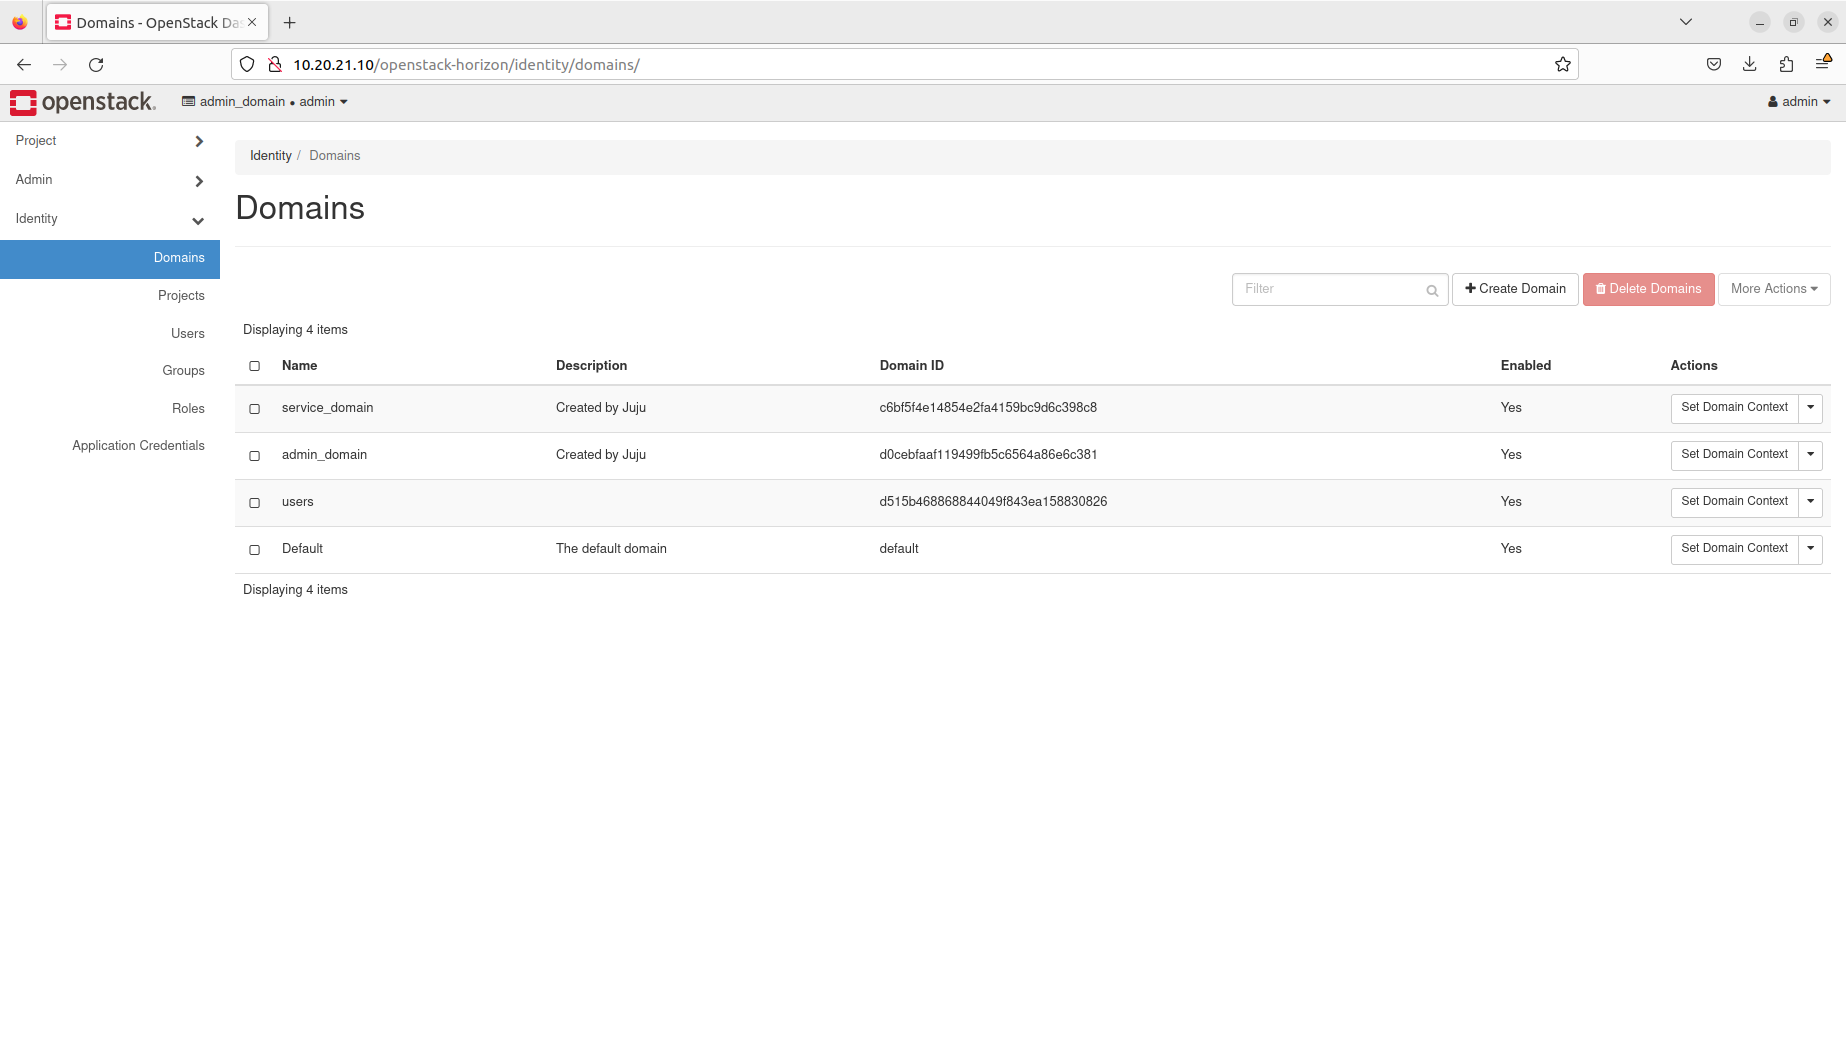
The Identity menu on the left is grouped into five sections:

  • Projects provides access to project accounts.

  • Users provides access to user accounts.

  • Groups provides access to user groups.

  • Roles provides access to user roles.

  • Application Credentials provides access to application credentials.

For example, to list all user accounts, navigate to Identity -> Users:

Note that the user IDs may be different in your environment.


6. Next steps

Congratulations! You have reached the end of this tutorial.

You can now move to the next tutorial - “5. Templates” - or explore other tutorials.

Take a survey!

Your feedback is very important for us and the entire OpenStack community. We want to understand how you use MicroStack and your pain points. Your feedback helps guide future MicroStack development.

Please fill in a short 5-question anonymous survey.

In this tutorial, you have learnt how to:

  • Navigate through the OpenStack dashboard menu

  • Change admin user password through the OpenStack dashboard

Where to go from here?