Your submission was sent successfully! Close

You have successfully unsubscribed! Close

Explore OpenStack components and set up an OpenStack client

1. Overview

Before you get started!

Welcome to OpenStack!

In this series of tutorials, we will walk you through all the necessary steps to install, configure and get started with OpenStack. Using just your workstation, you will learn how to use OpenStack for cloud infrastructure implementation purposes, from a single-node installation to large-scale clusters.

This tutorial is the second in the “Phase I - Single-node OpenStack on your workstation” series.

Explore other tutorials >

What is OpenStack?

OpenStack is the most popular open source cloud platform that aggregates distributed compute, network and storage resources in the data centre and enables on-demand provisioning of virtual machines through a self-service portal. OpenStack powers thousands of public and private clouds all over the world, providing rapid access for greater innovation and better economics.

Learn more about OpenStack >

What is MicroStack?

MicroStack is a micro cloud platform based on OpenStack, designed for the edge and small-scale data centre deployments, that can be installed and maintained with minimal effort. MicroStack eliminates the complexity behind OpenStack, providing an opinionated approach to OpenStack architecture design and a straightforward installation method.

Learn more about MicroStack >

What is Charmed OpenStack?

Charmed OpenStack is an enterprise cloud platform based on OpenStack, designed for large-scale data centre deployments, that provides full automation around the initial installation and day-2 operations. Charmed OpenStack abstracts the complexity behind OpenStack, using a composable approach to OpenStack architecture design with model-driven operators (charms).

Learn more about Charmed OpenStack >

In this tutorial, you will learn how to:

  • Distinguish between the various OpenStack components

  • Use MicroStack snap CLI

  • Interact with the SQL database

  • Interact with the Message Queue

  • Login to the OpenStack dashboard

  • Set up the OpenStack client

You will only need:

One physical machine with:

MicroStack

These instructions use MicroStack - OpenStack in a snap. MicroStack is also available on other Linux distros, Windows and macOS. Refer to the MicroStack website for more information on how to install MicroStack on an OS other than Ubuntu.


2. Learn about OpenStack components

While OpenStack is a large ecosystem, it can be broken down into smaller pieces.

In principle, OpenStack consists of the following basic components:

  • OpenStack services expose API endpoints and handle basic cloud functions, such as image catalogue maintenance, instance provisioning, etc.

  • OpenStack dashboard provides a web-based user interface for OpenStack services.

  • OpenStack client provides a command-line user interface for OpenStack services.

  • SQL databases store various records created by OpenStack services.

  • Message queues facilitate inter-process communication between various components of OpenStack services.

Additional components, such as NoSQL database or memcached, might be required in more advanced scenarios.


3. Use MicroStack snap CLI

MicroStack snap comes with an integrated OpenStack client. This means you can simply use the MicroStack snap CLI without installing the OpenStack client. In order to run a desired command, type microstack. and append the OpenStack client command. For example, to list all launched instances, run:


$ microstack.openstack server list --all-projects

This will return the instance we launched in the tutorial “1. Install”:


+--------------------------------------+------+--------+-----------------------------------+--------+---------+

| ID | Name | Status | Networks | Image | Flavor |

+--------------------------------------+------+--------+-----------------------------------+--------+---------+

| b1cd9b64-ebc0-43ba-811b-3f14a65b32bf | test | ACTIVE | test=192.168.222.14, 10.20.20.137 | cirros | m1.tiny |

+--------------------------------------+------+--------+-----------------------------------+--------+---------+

Note that the ID of the instance and its IP addresses may be different in your environment.

You can also create an alias for the microstack.openstack command to remove the need to type the microstack. prefix when using the OpenStack client:


$ sudo snap alias microstack.openstack openstack

Added:

- microstack.openstack as openstack

$ openstack server list --all-projects

+--------------------------------------+------+--------+-----------------------------------+--------+---------+

| ID | Name | Status | Networks | Image | Flavor |

+--------------------------------------+------+--------+-----------------------------------+--------+---------+

| b1cd9b64-ebc0-43ba-811b-3f14a65b32bf | test | ACTIVE | test=192.168.222.14, 10.20.20.137 | cirros | m1.tiny |

+--------------------------------------+------+--------+-----------------------------------+--------+---------+


4. Interact with the SQL database service

The MicroStack snap integrates the MySQL client, which is the SQL database implementation used in MicroStack.

In order to interact with the MySQL database, first, obtain the root user password:


$ sudo snap get microstack config.credentials.mysql-root-password

Sample output:


MM7zSAkgrIr81wku7W1KJ0R9yP4ksphu

Then, connect to the MySQL interface using the obtained credentials:


$ sudo microstack.mysql -u root -p

Once it opens, you can use regular MySQL commands to manage database records. For example, to list all created databases, run:


mysql> show databases;

To disconnect from the MySQL interface, type exit (or Ctrl-d).


5. Interact with the Message Queue service

The MicroStack snap integrates the RabbitMQ client, which is the Message queue implementation used in MicroStack.

In order to interact with RabbitMQ, you can use regular rabbitmqctl commands with the microstack. prefix added. For example, to list all queues, run:


$ sudo microstack.rabbitmqctl list_queues

The MicroStack snap also provides other useful commands. Type microstack. and press TAB to display the full list.


6. Log in to the OpenStack dashboard

In order to log in to the OpenStack dashboard, first, obtain the admin user password:


$ sudo snap get microstack config.credentials.keystone-password

Sample output:


lBF9sc7Tc28Bx6Sy1UznnyQg6PK2IfxK

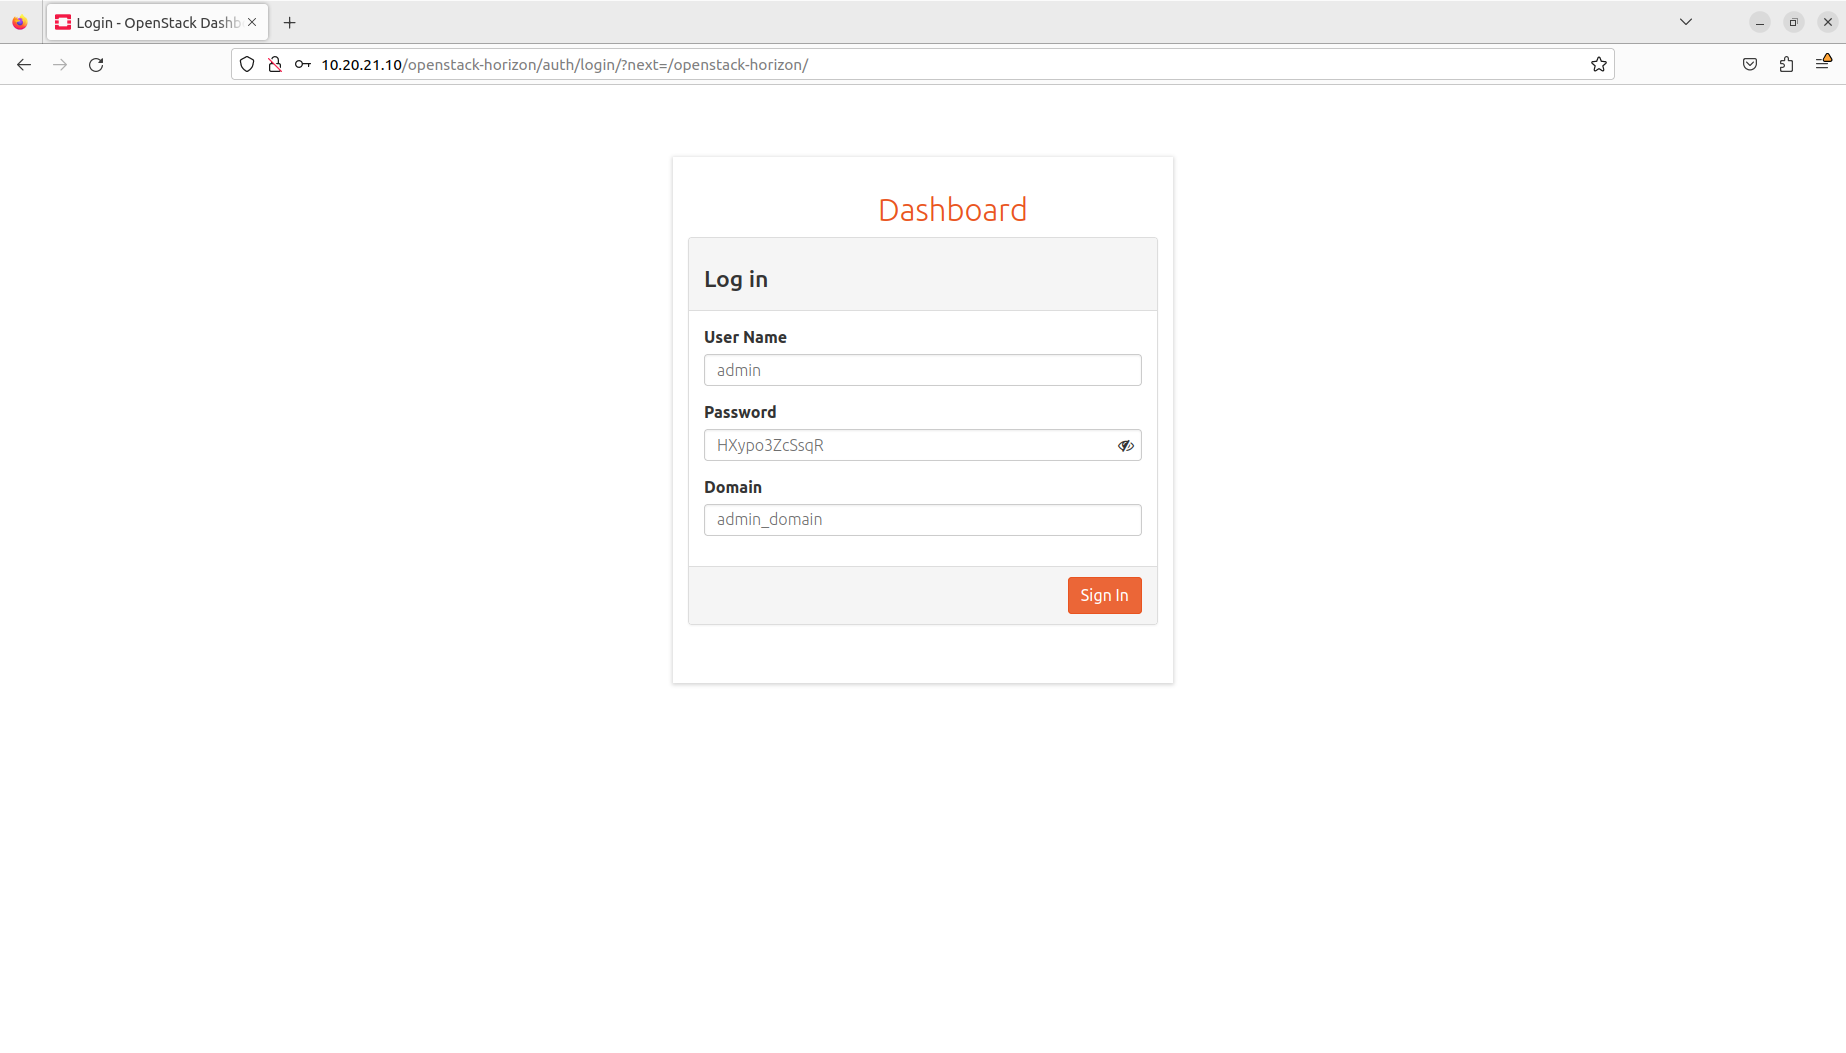
Then, visit https://10.20.20.1, type the obtained credentials, and click the Sign in button:

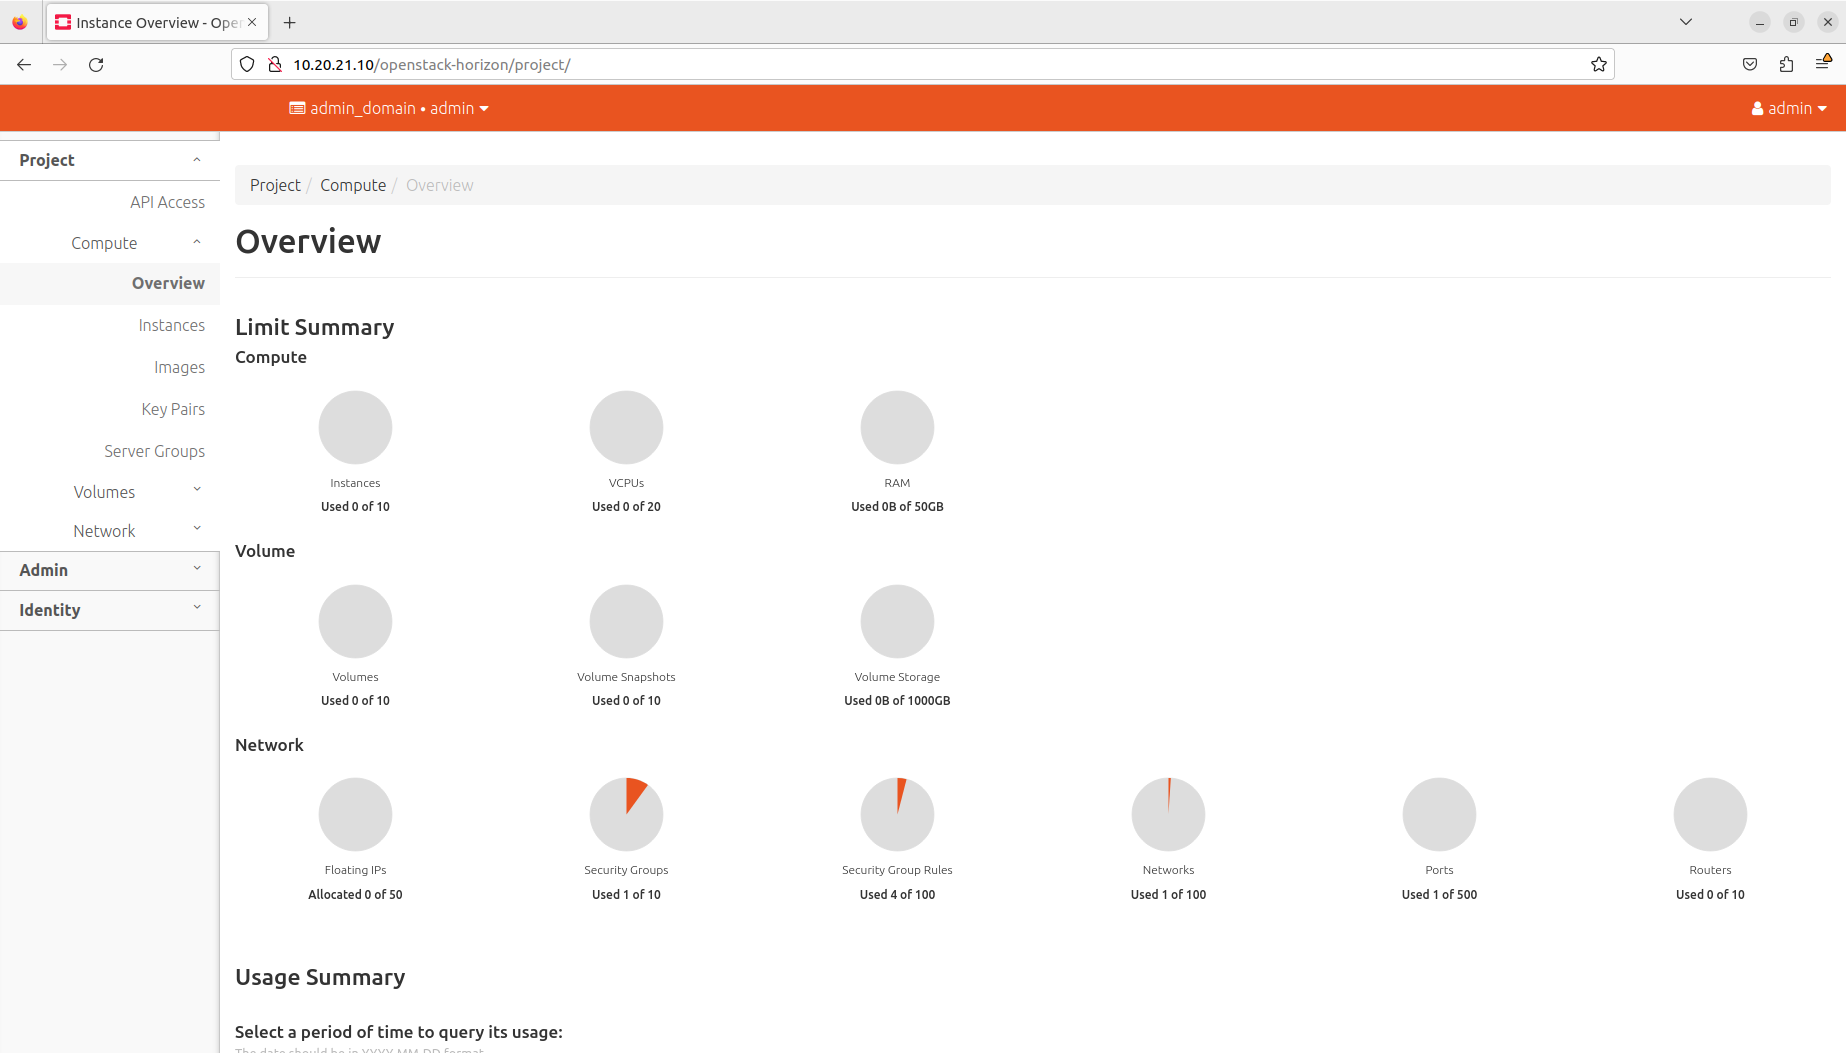
From the OpenStack dashboard landing page, navigate to the admin drop-down menu in the top right, click it, and select OpenStack RC File to download the RC file that we’ll use in the “Set up the OpenStack client” section:

Depending on your browser, you may also need to accept the file:

1.2.3


7. Set up the OpenStack client

Although MicroStack comes with an integrated OpenStack client, this is only useful if you installed MicroStack for yourself. In a multi-tenant environment, the OpenStack client needs to be set up by each tenant to enable remote connections to the OpenStack cloud.

First, remove the openstack alias we created in the “Use MicroStack snap CLI” section:


$ sudo snap unalias openstack

Then, install the OpenStack client:


$ sudo snap install openstackclients

When the installation process has finished, you should see the following message in the terminal:


openstackclients (wallaby/stable) wallaby from Canonical✓ installed

Note that, at the time of writing this tutorial, the installed version of the client was Wallaby.

In order to communicate with the OpenStack cloud, the OpenStack client must have several environmental variables set. Those are defined in the RC file we downloaded in the “Login to the OpenStack dashboard” section. To set those variables, execute the following command, and type the admin user password we obtained in the “Log in to the OpenStack dashboard” section:


$ source ~/Downloads/admin-openrc.sh

You can now use the OpenStack client to interact with your OpenStack cloud. For example, to list all launched instances, run:


$ openstack --insecure server list

Self-signed certificate

By default, MicroStack uses a self-signed certificate. To avoid errors when running the openstack commands, append the --insecure flag that disables certificate validation.


8. Next steps

Congratulations! You have reached the end of this tutorial.

You can now move to the next tutorial - “3. Services” - or explore other tutorials.

Take a survey!

Your feedback is very important for us and the entire OpenStack community. We want to understand how you use MicroStack and your pain points. Your feedback helps guide future MicroStack development.

Please fill in a short 5-question anonymous survey.

In this tutorial, you have learnt how to:

  • Distinguish between the various OpenStack components

  • Use MicroStack snap CLI

  • Interact with the SQL database

  • Interact with the Message Queue

  • Login to the OpenStack dashboard

  • Set up the OpenStack client

Where to go from here?