Your submission was sent successfully! Close

You have successfully unsubscribed! Close

Thank you for signing up for our newsletter!
In these regular emails you will find the latest updates about Ubuntu and upcoming events where you can meet our team.Close

How to Install ONLYOFFICE on Ubuntu 18.04

1. INTRODUCTION

ONLYOFFICE is an open source office suite that includes online editors and the range of productivity and collaboration tools such as, documents and projects management, CRM system and calendar, chat and email, all in one place.

ONLYOFFICE Community Edition, distributed under GNU AGPL v.3, is composed of three servers:

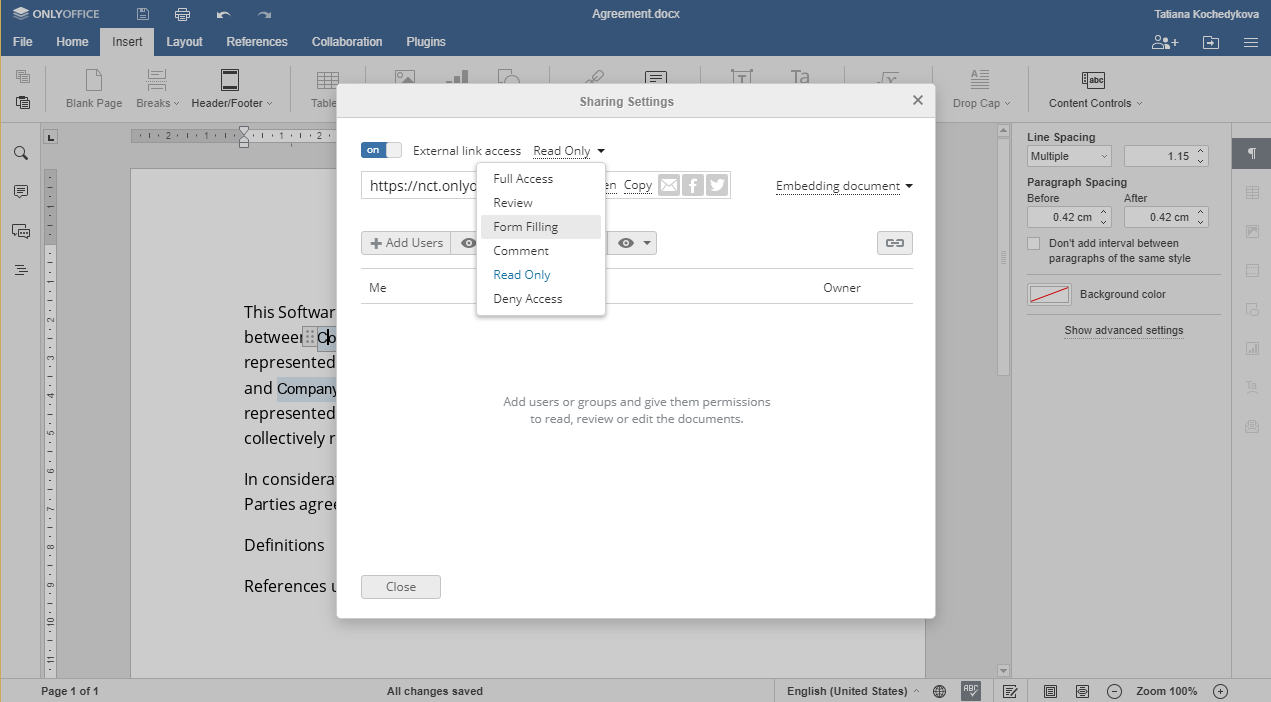
  • Document Server: comprises online editors for text documents, spreadsheets and presentations. You can create, edit and collaborate on documents 100% compatible with MS Office and other popular formats in a familiar tabbed interface.
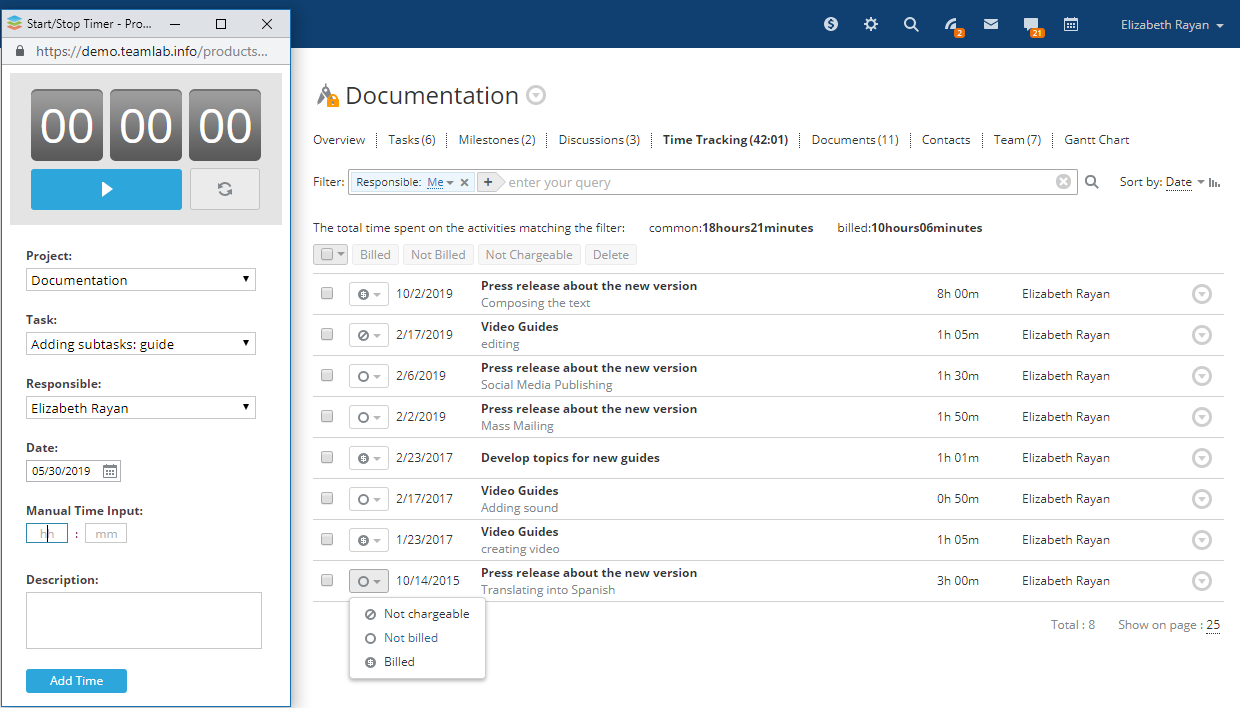
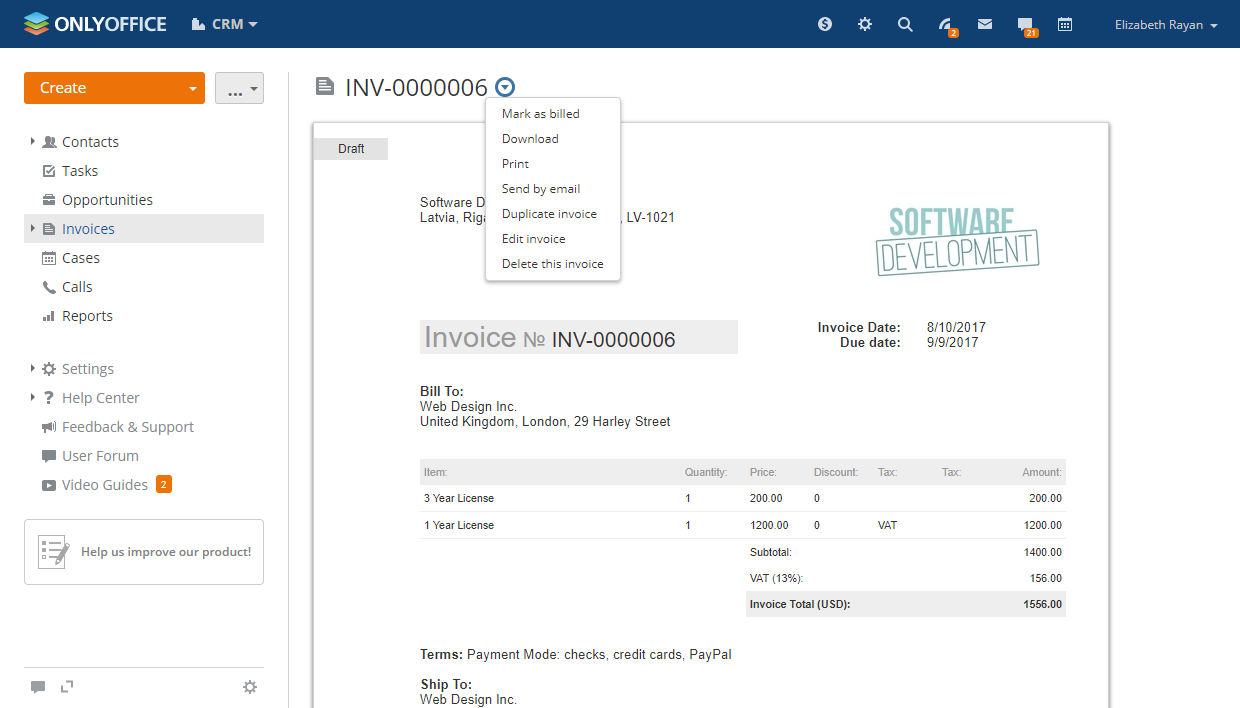
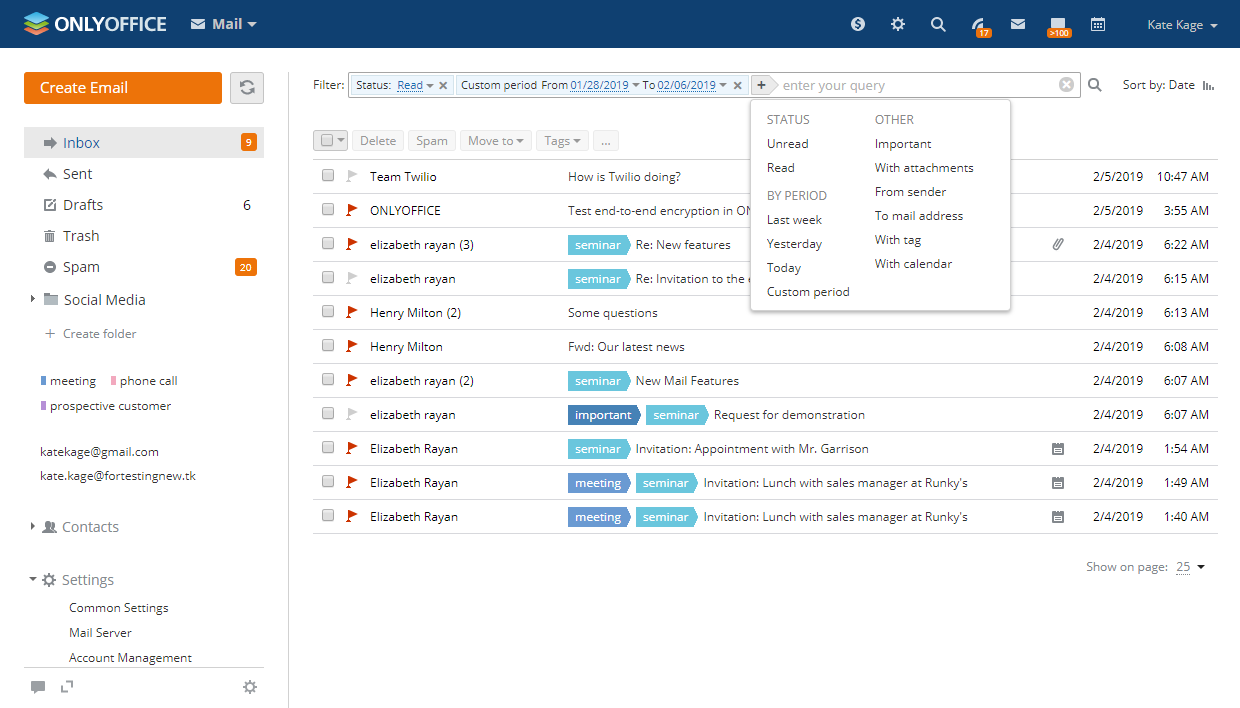
  • Community Server: includes the following modules and tools: People, Projects, CRM, Documents, CRM, Community, mail client, calendar and chat. To learn more about the latest features in Community Server, please, refer to the official documentation.
  • Mail Server: connect your own domains and create corporate mailboxes.

WHAT YOU’LL LEARN

In this tutorial, you will learn two alternative ways to install ONLYOFFICE on Ubuntu 18.04 using the provided script:

  • installing Community Edition with a Docker image,
  • installing Community Edition from the DEB package.

WHAT YOU’LL NEED * System requirements: CPU: dual core 2 GHz or better RAM: 6 GB or more HDD: at least 40 GB of free space * Additional requirements: at least 6 GB of swap * Software requirements: Ubuntu 18.04 * Installation with a docker: Docker: version 1.10 or later * Administrative permissions for program installation

Originally authored by Maria Pashkina.


2. INSTALLATION

1. Get Community Edition script

Download the ONLYOFFICE script file from the official website with this command:

wget http://download.onlyoffice.com/install/opensource-install.sh

2. Running the Community Edition Installer Please note that to perform all installation actions you must have admin rights.

2.1 Run the complete ONLYOFFICE installation:

sudo bash opensource-install.sh -md "yourdomain.com"

Specify your registered domain name instead of “yourdomain.com”.

In case you don’t want or don’t need to install Mail Server, run the following command:

sudo bash opensource-install.sh -ims false

2.2 After you have initiated the script, you will have to choose one of the installation options depending on your needs:

Install with Docker [Y/N/C]?

  • Select ‘Y’ to install ONLYOFFICE using Docker.

This option is recommended, if you want to install Community Edition including Community, Document and Mail servers at once. The Docker script will set up Docker containers with all the modules and dependencies necessary for Community Edition to run.

  • Select ‘N’ to install it using DEB package.

The script will automatically install and configure all the necessary prerequisites as well as Community Edition components (Document Server and Community Server). Please note, that if you select DEB installation, you will need to manually install Mail Server and connect it to your ONLYOFFICE installation. See instructions in the ONLYOFFICE Help Center.


3. INSTALLATION COMPLETE

After installation is over, check that the Community Edition is working.

Once completed, specify your email and create a password to access your web office next time.

Well done! You have successfully installed ONLYOFFICE. Now you have at your disposal a full-featured online collaboration platform for your team:

  • create, edit and collaborate on your office documents from anywhere at any time. You can also work with your documents offline using ONLYOFFICE Desktop Editors connected to your portal. To learn more, please refer to this tutorial.

  • store and manage documents, including the files from cloud storage services like Google Drive, Dropbox, ownCloud. Share your files with different access permissions. Store and play video and music, view images of all popular formats: BMP, JPG, JPEG, PNG, GIF, TIF, TIFF, AVI, MPEG, MP3, PDF, etc. with integrated multi-format media player.

  • Work on project through all its stages: schedule workflow, distribute tasks and subtasks, store the project related documentation, lead discussions, track time, generate reports via docbuilder.

  • create a client database and keep track of the potential sales via the CRM module.

  • organize an internal social network with news, blogs, forums, bookmarks, polls, wiki.

  • manage all your email efficiently with the Mail module: connect different email accounts and manage all the correspondence from one single place and create corporate mailboxes for your team members.

  • schedule corporate and personal events using Calendar that can be integrated with other modules and synchronized with third party apps.

Select the tool you need and start working. Enjoy!