Your submission was sent successfully! Close

You have successfully unsubscribed! Close

Thank you for signing up for our newsletter!
In these regular emails you will find the latest updates about Ubuntu and upcoming events where you can meet our team.Close

How to Install ONLYOFFICE Desktop Editors on Ubuntu 18.04

1. INTRODUCTION

ONLYOFFICE Desktop Editors is a free and open source office suite, distributed under GNU AGPL v.3.0., available for Linux, Windows and Mac OS. It offers three editors included in one package: for text documents, spreadsheets and presentations.

The benefits offered by ONLYOFFICE Desktop Editors run as follows:

  • tab-based user interface to deal with multiple files within one and the same window
  • compatibility with MS Office and Open Document formats
  • support for the third-party plugins (for example, ClipArt, OCR, Speech, Symbol Table, Translator, YouTube, etc.)
  • connection to the cloud platform of your choice: ONLYOFFICE, Nextcloud or ownCloud, offering real-time collaboration on documents for remote teams
  • end-to-end encryption to protect documents, including temporary files, with the AES-256 encryption algorithm. Blockchain technology with asymmetric encryption was implemented for reliable password storing and transferring.

To read more about the latest features in ONLYOFFICE Desktop Editors, you may refer to the official documentation.

WHAT YOU’LL LEARN
Four main ways to install ONLYOFFICE Desktop Editors on Ubuntu 18.04.

WHAT YOU’LL NEED
System requirements: CPU: dual-core 2 GHz or better. RAM: 2 GB or more. HDD: at least 2 GB of free space.

  • Software requirements: Ubuntu 18.04
  • Additional Requirements: administrative permissions for program installation

2. INSTALLATION

1.Installation of ONLYOFFICE Desktop Editors from the repository
ONLYOFFICE Desktop Editors package is not available in the default Ubuntu 18.04 package repositories, so first we have to configure additional Ubuntu repository.

Add GPG key:

         sudo apt-key adv --keyserver hkp://keyserver.ubuntu.com:80 --recv-keys CB2DE8E5

Add the following line in “/etc/apt/sources.list”:

         deb http://download.onlyoffice.com/repo/debian squeeze main

Update the repositories and install ONLYOFFICE Desktop Editors package using the commands below:

         sudo apt-get update
         sudo apt-get install onlyoffice-desktopeditors

2.Installation of ONLYOFFICE Desktop Editors via snap
An alternative way to install ONLYOFFICE Desktop Editors on Ubuntu 18.04 is using snap. Use the command below to do it:

         snap install onlyoffice-desktopeditors

3.Running ONLYOFFICE Desktop Editors with AppImage
Another way to use ONLYOFFICE Desktop Editors on Ubuntu 18.04 is running it as AppImage without installation. Use the commands below to do it:

         $ wget https://github.com/ONLYOFFICE/appimage-desktopeditors/releases/download/v5.1.29/DesktopEditors-x86_64.AppImage
         $ chmod a+x DesktopEditors-x86_64.AppImage
         $ ./DesktopEditors-x86_64.AppImage

4.ONLYOFFICE Desktop Editors are also available as Flatpak
To install ONLYOFFICE Desktop Editors from Flathub, you’ll need to install Flatpak and add the Flathub repository. You can find instructions for how to do this on the official site.

Now, you can install ONLYOFFICE Desktop Editors from Flathub on Ubuntu 18.04 by using this command:

           flatpak install flathub org.onlyoffice.desktopeditors


3. INSTALLATION COMPLETE

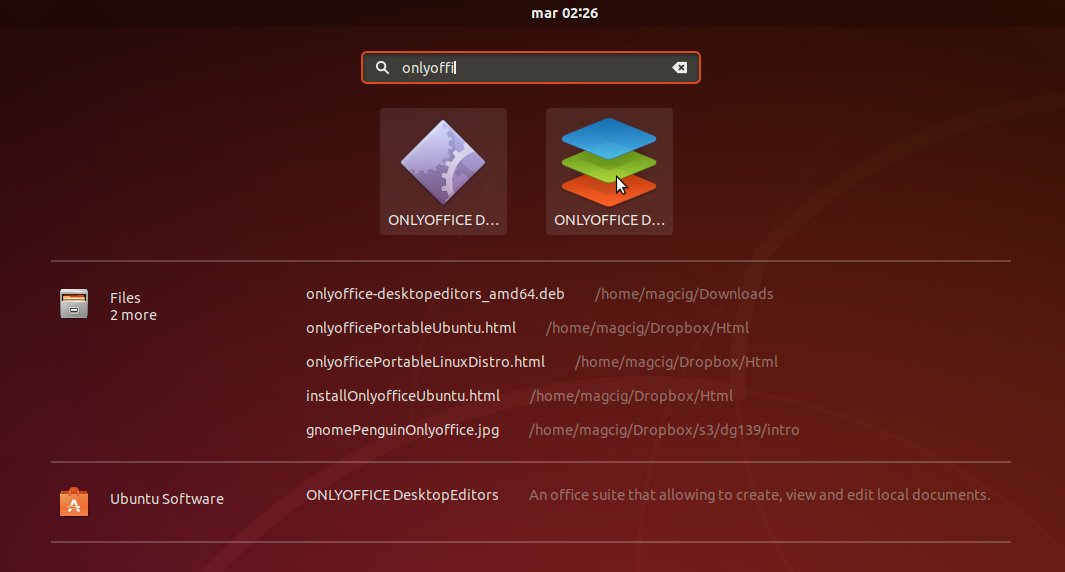
Getting started with ONLYOFFICE Desktop Editors. To launch ONLYOFFICE Desktop Editors go to the computer Application menu and follow Office - ONLYOFFICE.

Congratulations! You have successfully installed ONLYOFFICE Desktop Editor! Now it’s time to start working with ONLYOFFICE: you can create a new text document, spreadsheet or presentation, edit an existing document stored on your machine, or connect your desktop suite to the cloud and work on files stored there - co-edit, manage users access, comment, review, chat. Enjoy!