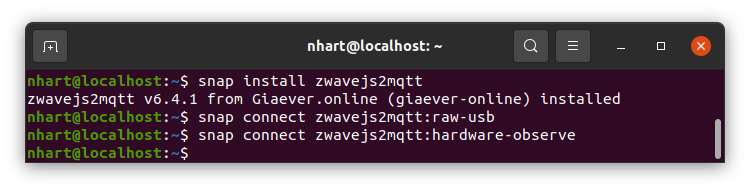
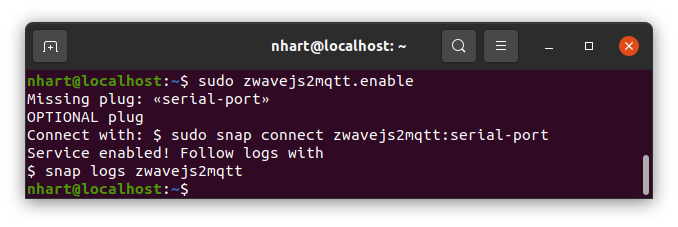
We’ll now start the Z-Wave service/daemon by running the command sudo zwavejs2mqtt.enable
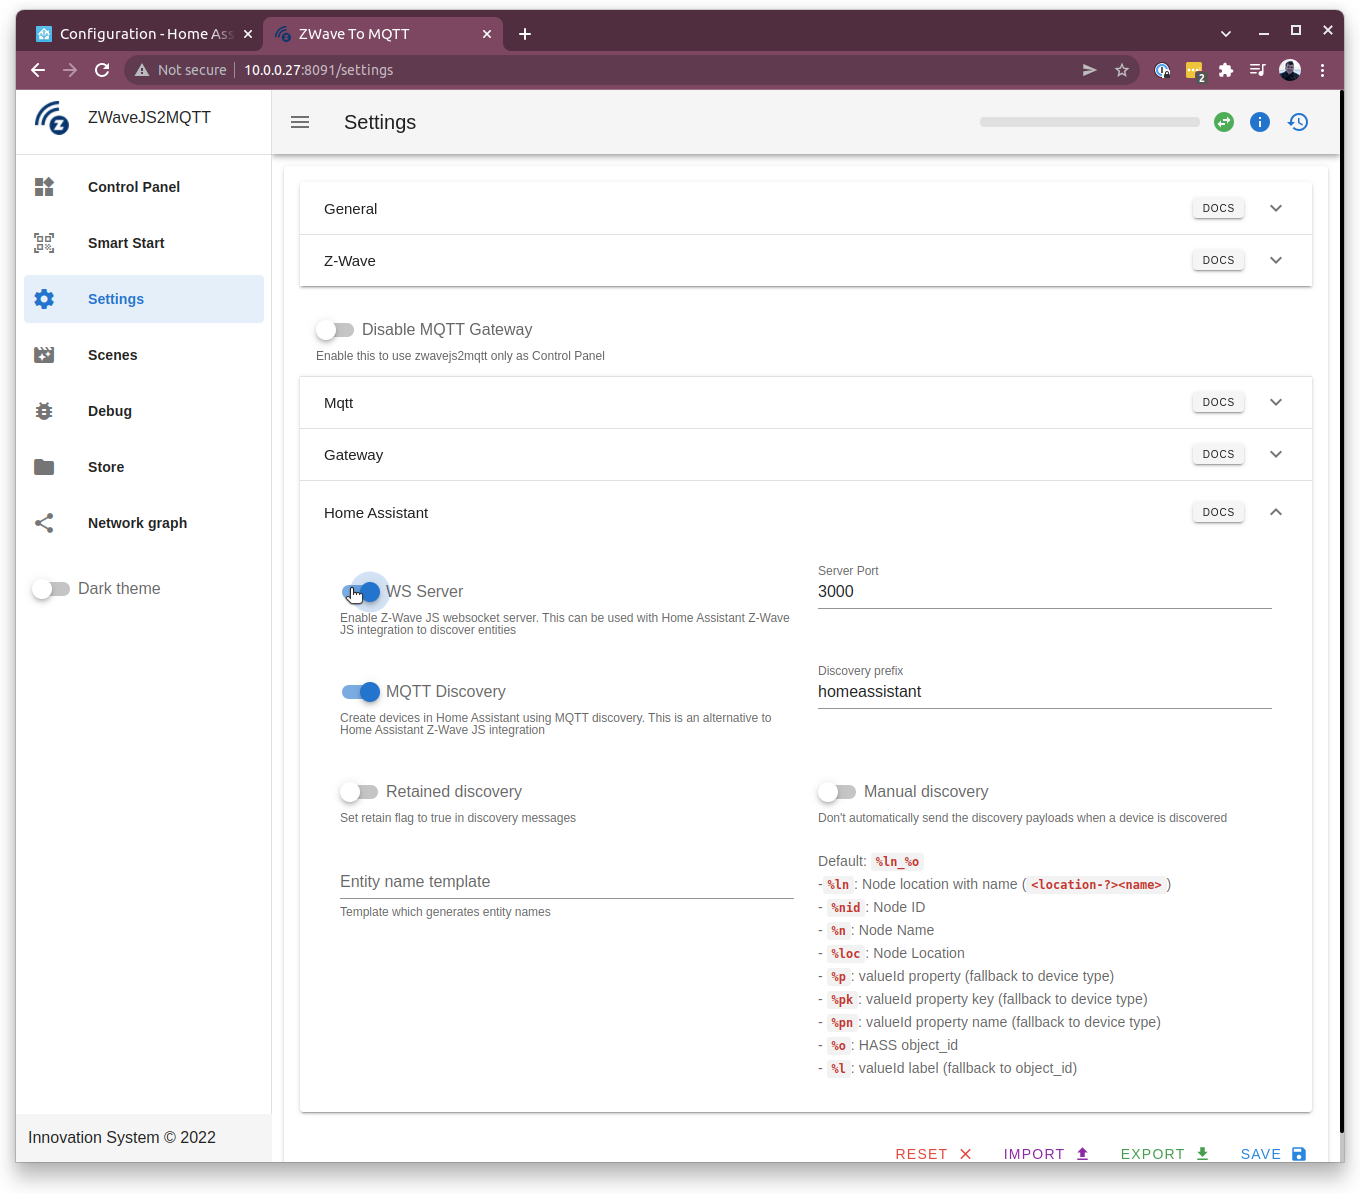
Now, in a browser window, we can type in the IP address of the pi, followed by the Z-Wave server port number like this: http://<ip address>:8091
Now, we’ll click on settings and scroll to the Home Assistant section where we’ll enable WS server.
Press SAVE, and we’ll then move to the Z-Wave section of the Settings page. There, we’ll disable the soft reset setting. This is necessary for the particular type of Z-Wave dongle we are using. Ensure as well that the serial port is listed as shown in the screenshot below.
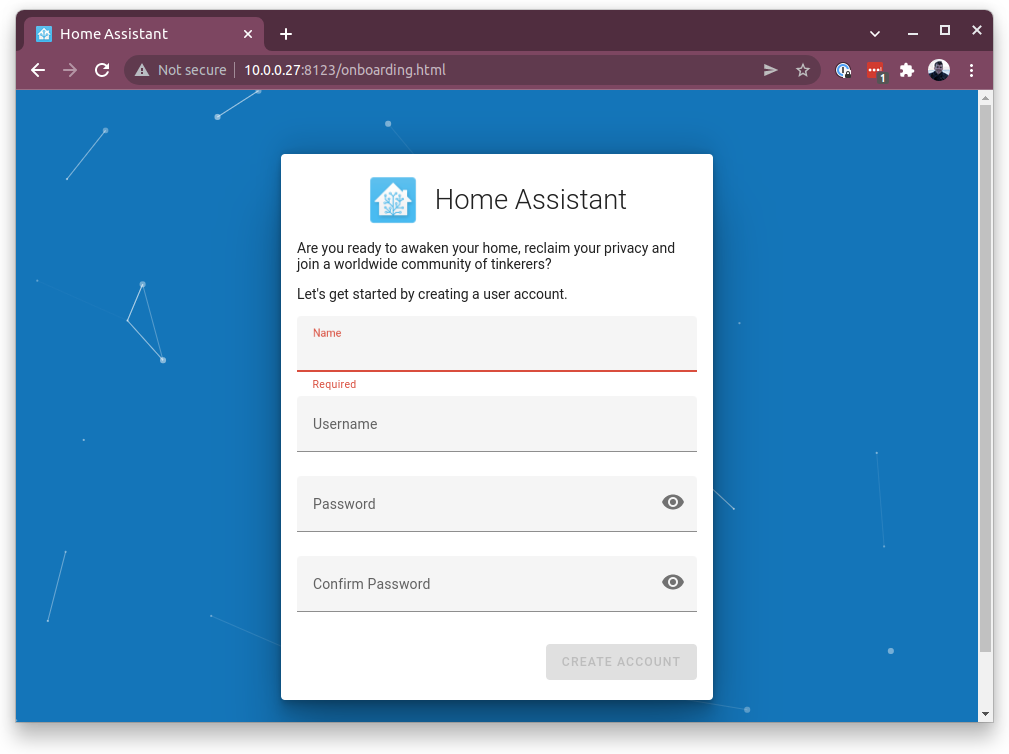
Now, let’s configure Home Assistant. To do this, we’ll open a new browser tab and type the IP address of the Pi and port 8123 like this http://<ip address>:8123
The UI will prompt us to set our home location, units of choice, and usage metrics preferences. It also may discover some services on your local network to connect.

We’ll skip these for now, and click FINISH.
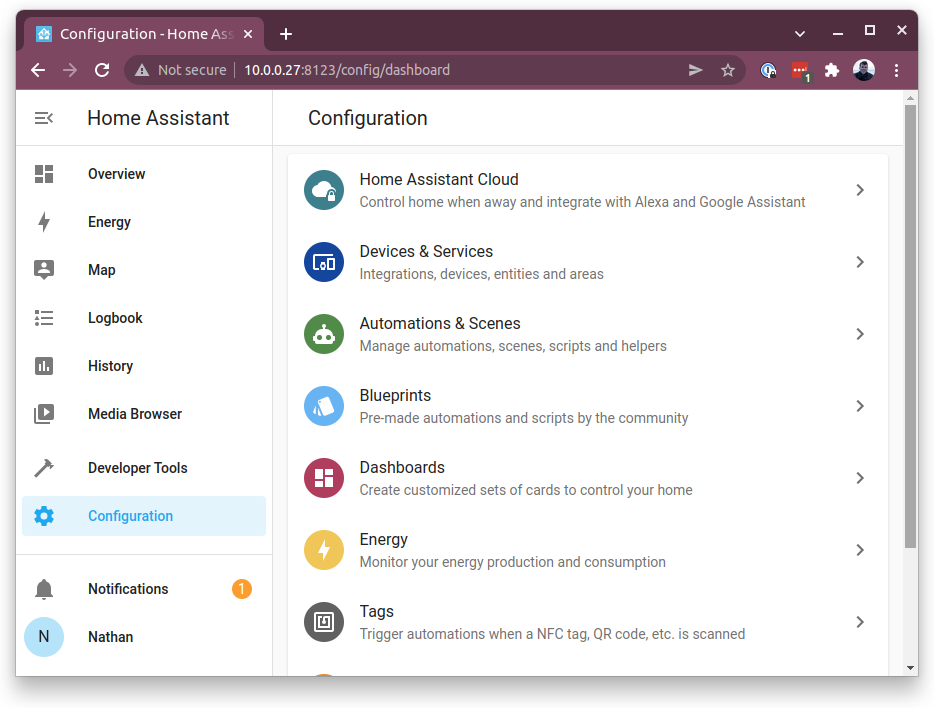
We should now be able to see the Home Assistant home page. From here, we’ll click Configuration in the left menu, then Devices & Services.
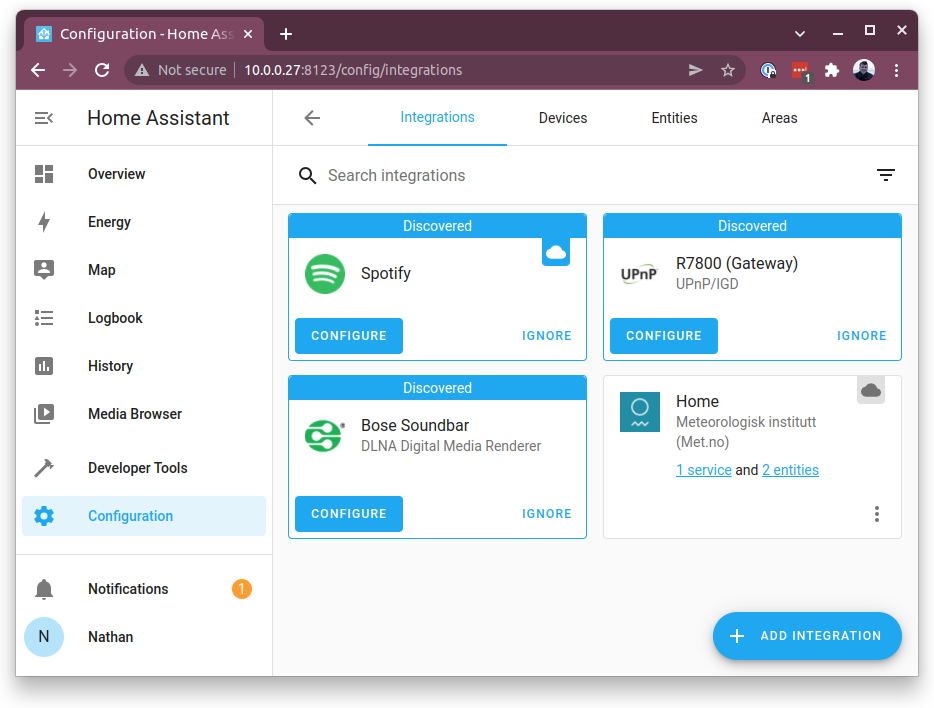
In the Integrations tab, we’ll now click on ADD INTEGRATION.
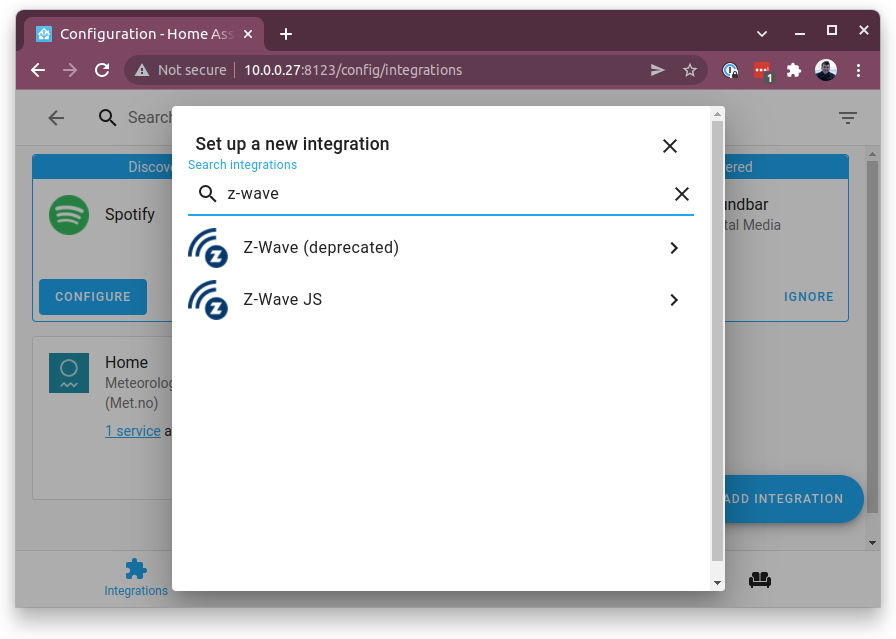
In the New Integration interface, search for and click on Z-Wave JS, taking care to not use the deprecated Z-Wave integration.
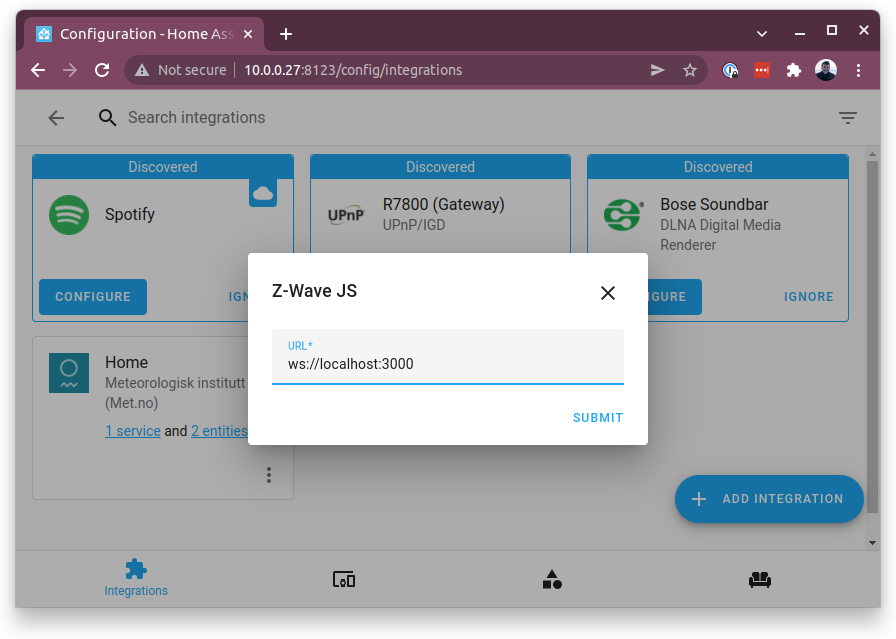
The URL field should be populated automatically, but if not, type in ws://localhost:3000. This comes from the previous setup we did in the Z-Wave server.
We should now see the devices we previously paired to our Z-Wave stick! Set the area fields appropriately. For me, I put Office in the Area field, as I am creating my motion-activated light in my office.