Your submission was sent successfully! Close

You have successfully unsubscribed! Close

Thank you for signing up for our newsletter!
In these regular emails you will find the latest updates about Ubuntu and upcoming events where you can meet our team.Close

How to install a Windows 11 VM using LXD

1. Overview

If you are using a Linux environment but want to run a Windows 11 virtual machine, you can easily do so using LXD. Windows 11 is somewhat strict in its requirements (needs UEFI SecureBoot, having a TPM, and having a modern CPU), but LXD supports that out of the box, and there’s no need for any complex configuration in order to enable a Windows VM. In this tutorial, we will walk through the process of installing Windows in an LXD virtual machine. We will be installing Windows 11, but the same procedure also applies to Windows server machines.

What you’ll learn

  • How to repackage an ISO image with lxd-imagebuilder
  • How to install a Windows VM

What you’ll need

  • Ubuntu Desktop 16.04 or above
  • LXD snap (version 4.2 or above) installed and running
  • Some basic command-line knowledge

2. Prepare your Windows image

To start, we need to download a Windows 11 Disk Image (ISO) from the official website.

To proceed with the installation, we need to prepare the downloaded image, by repackaging it with a tool called lxd-imagebuilder. lxd-imagebuilder is an image-building tool for LXC and LXD, used to build all our official images.

First, we need to install lxd-imagebuilder

sudo snap install lxd-imagebuilder --classic --edge

Then we need to locate our downloads directory and find our Windows 11 ISO file

cd Downloads/
ls WindowsIsoImage.iso

We can then repackage the file, and give it a new file name (let’s call it “win11.lxd.iso”)

This needs to be run as root

sudo lxd-imagebuilder repack-windows WindowsIsoImage.iso win11.lxd.iso

ⓘYou might get a message “Required tool “hivexregedit” is missing” and “Required tool “wimlib-imagex” is missing”. You can easily install all the needed dependencies using the following command: sudo apt-get install -y --no-install-recommends genisoimage libwin-hivex-perl rsync wimtools

ⓘYou might also get a message “failed to create overlay” depending on the file system you use. This does not hinder the process, rather it will just do things the alternative way which may take a few min longer

The result is a new ISO image that will work seamlessly with LXD.

We can now locate the new ISO file

ls -lh win11.lxd.iso


3. Create a new VM

After we create the Windows image, We can create a new empty VM that we can call ”win11”

lxc init win11 --vm --empty

The default storage/disk provided to new VMs is 10GB, which is not enough for Windows so we need to increase the size of the disk to 50GB with the following command before proceeding

lxc config device override win11 root size=50GiB

We should also increase the CPU limits for optimal performance

lxc config set win11 limits.cpu=4 limits.memory=8GiB

Next, we need to add TPM (Trusted Platform Module) as it’s one of the things Windows requires. We can call it vtpm as it is a virtual TPM after all. Adding TPM will also enable you to enable things like bitlocker inside of your VM.

lxc config device add win11 vtpm tpm path=/dev/tpm0

The last thing we need to do is add the install media Itself and make it a boot priority (so it boots automatically).

lxc config device add win11 install disk source=/home/mionaalex/Downloads/win11.lxd.iso boot.priority=10

ⓘReplace /home/mionaalex/Downloads/ with your own path to the repackaged file

Now we can start the installer.

ⓘYou will need to manually provide a VGA console access by installing either remote-viewer or spicy. If neither of these is found in the system, you will get a message instructing you to install them.

lxc start win11 --console=vga

If needed, install a Spice client as prompted:

sudo apt-get install -y --no-install-recommends virt-viewer

Or

sudo apt-get install -y --no-install-recommends spice-client-gtk

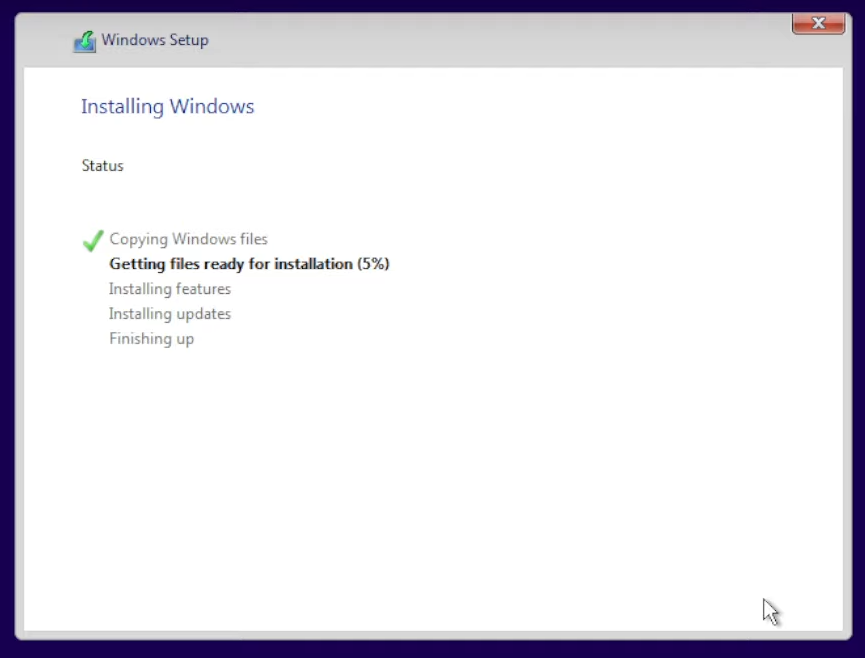
The rest of the installation will proceed automatically.


4. Install Windows

You should now see the Windows installer screen.

You can select “I don’t have a key” (or add a key if you have one), select Windows 11 Pro, select the option Custom: Install Windows Pro only (Custom/advanced) and click install.

The installation will take some time.

Once the first stage is done, you will need to restart. That will close the terminal for the console, so you need to open it again.

lxc console win11 --type=vga

This will now look like a regular Windows installation process. You will see a boot window with “getting ready”. If it needs to reboot again, just run the command above.

You will get another standard setup screen, choose your options (date format, keyboard layout etc.) or skip through it.

Now it will look for updates. This will take some time.

Once completed, it will restart again so attach to the console again. The installer will show up once again and complete the process.


5. Additional information

Now you have your Windows 11 VM up and running, and you can use it in any way you’d like. For faster boots, the ISO can be removed once the installation process is over.

lxc config device remove win11 iso


6. That’s all

Now you’ve learned how you can set up and run a Windows 11 virtual machine using LXD. Additional information on how to do image repacking with lxd-imagebuilder can be found [here])https://canonical-lxd-imagebuilder.readthedocs-hosted.com/en/latest/tutorials/use/#repack-windows-iso).

If you’d like to watch a video walk-through, you can find it here.

If you’d like to read more about LXD virtual machines, read this blog.

For more about LXD in general, take a look at the following resources:

If you have further questions or need help, you can get help here: