Your submission was sent successfully! Close

You have successfully unsubscribed! Close

Thank you for signing up for our newsletter!
In these regular emails you will find the latest updates about Ubuntu and upcoming events where you can meet our team.Close

How to install Ubuntu Desktop on Raspberry Pi 4

1. Overview

In this tutorial, we walk you through the process of installing Ubuntu Desktop on a Raspberry Pi. If you are looking to install Ubuntu Server on your Raspberry Pi, you can follow this link to that tutorial

What you’ll learn

  • How to create a bootable Ubuntu Desktop microSD card
  • How to setup your Ubuntu Desktop for daily use

What you’ll need

  • A microSD card (9GB minimum, 16GB recommended)
  • A computer with a microSD card drive
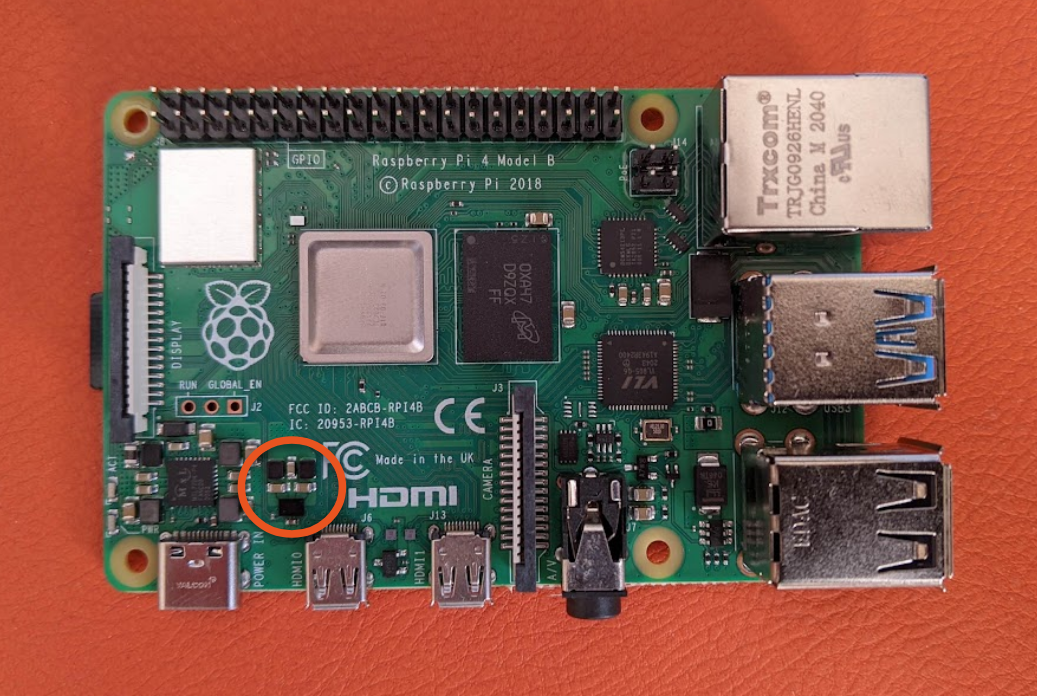
  • A Raspberry Pi 4
  • A micro USB-C power cable
  • A monitor with an HDMI interface
  • A micro HDMI cable
  • A USB keyboard

2. Prepare the SD Card

Warning
Following these steps will erase all existing content on the microSD card.

First, insert the microSD card into your computer.

You need to install the right Raspberry Pi Imager for your operating system. You can do this on ubuntu by running:

sudo snap install rpi-imager

Or on other operating systems follow these links:

Once this is done, start the Imager and open the “CHOOSE OS” menu.

Scroll down the menu click “Other general-purpose OS”.

You will then be able to see a list of Ubuntu downloads to choose from. Select the “Ubuntu 20.10 Desktop (Raspberry Pi 4)” option. As indicated in the imager this only works for the Raspberry Pi 4 with 4GB or 8GB RAM.

Select the image and open the “SD Card” menu. Select the microSD card you have inserted, and click “WRITE”. Then just sit back and wait for the magic to happen… (This magic might take a few minutes).

Now you have your Ubuntu SD card. Before going on, make sure your Pi is off and insert this SD card. This is what the Pi uses to load all the software you’re about to use.


3. Boot your Desktop

Now, ensure your HDMI screen and a USB keyboard are plugged in before plugging in and powering on the Raspberry Pi. You will be able to see the boot process on screen and, eventually, the first run wizard.

First, set your language:

Then set your keyboard layout. For British vs American keyboards you can use the ‘@’ and ‘ “ ‘ keys to check that they are in the right place for you.

Now pick yourself a timezone. This is used to give you the correct time and so it knows when to change for the summer:

Once that’s sorted we ask you to set up a user and set a password:

And finally, welcome to your Ubuntu Desktop:


4. (optional) Boot from USB with an external SSD

Using an external SSD connected to your Raspberry Pi via a USB 3.0 port can dramatically improve performance as well as give you more flexibility for your storage.

All 8GB Raspberry Pi 4s and newer 4GB models are pre-configured to boot from a USB drive automatically as long as there is no SD card inserted.

For older 4GB models released pre-2021 there is some additional configuration required which is linked on the Discourse version of this Tutorial.

The easiest way to spot if your Pi will support USB boot out-of-the-box is by looking for the trio of black squares between the power supply port and the nearest micro-HDMI port that is only present with the newer models.

The process for using an SSD with your Raspberry Pi is exactly the same as for an SD Card. Simply connect the SSD you want to use to your computer and launch the Raspberry Pi Imager. Select Ubuntu Desktop as your Operating System as before, but this time select the SSD as your Storage option.

The flashing process should continue exactly as before.

When you connect the SSD to your Raspberry Pi and power it on it should automatically boot from the external drive!

Remember!
Make sure you don’t have an SD Card inserted if you want to boot from USB.


5. That’s all, folks!

You are done!

For more details about the Raspberry Pi Ubuntu Desktop you can refer to our website.

You might also want to install some software on your Pi. Ubuntu has extensive repositories available, that you can browse at packages.ubuntu.com.

You can use the snap command to install snap packages. The Snap Store is where you can find the best Linux open source and proprietary apps to install on your Raspberry Pi and get started with any project!

Further Reading

Check out these tutorials for ideas on other Pi Projects!

And for more advanced users: